Plugin installation

Installing the plugin for the IRC5 controller is similar to installing the plugin for the OmniCore controller. The following documentation only explains how to install the plugin on the OmniCore controller, but the same process can be applied with the IRC5 controller.

Important

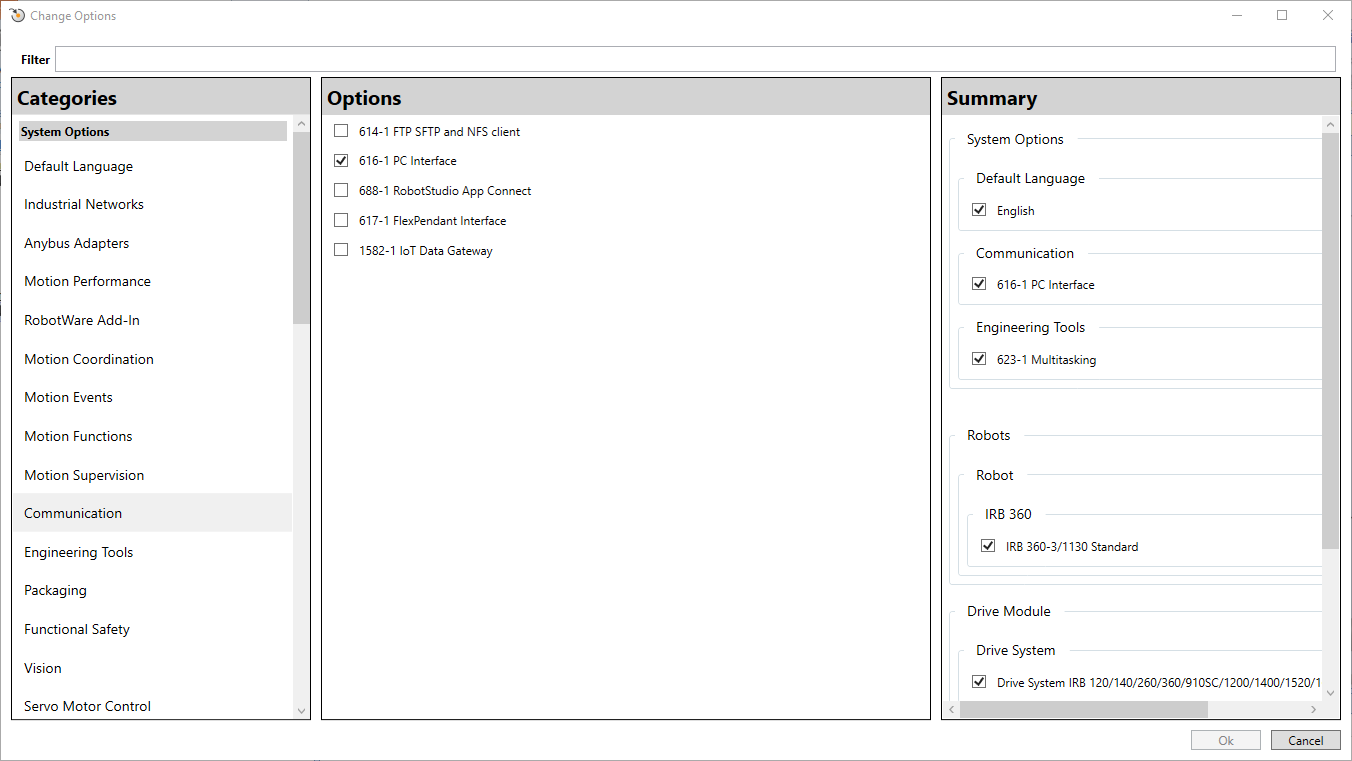
If you are working with an IRC5 controller, you must have checked the following option before creating your project: PC 616-1 interface.

../_images/irc5_communication_option.png

Fig. 1 IRC5 controller - Required communication option

Step 1: Check your RobotWare version

  1. Open your solution in RobotStudio and go to tab Controller, click Installation and select Modify Installation.

  2. Select your controller and check the RobotWare version in the overview. The version must be 7.10.1 or higher.

    ../_images/robotware_version.png

    Fig. 2 Installation Manager 7 - Distribution RobotWare 7.10.1

Note

If you are using IRC5 controller, you must use Installation > Installation Manager 6 and check your RobotWare version to be equal or higher to 6.13.02.

Step 2: Download the plugin

Download the plugin zip file abb-eyeplusPlugin-2.0.0.zip here. It must contain the following files:

  • Asyril.Eyeplus.RW6-1.0.0.rspak

  • Asyril.Eyeplus.RW7-2.0.0.rspak

Step 3: Install the RobotWare Add-In in RobotStudio

  1. Open your solution in RobotStudio and go to tab Add-Ins.

  2. Click on Install Package and select the plugin file Asyril.Eyeplus.RW7-2.0.0.rspak.

  3. The following information must appear:

    ../_images/install_robotware_addin.png

    Fig. 3 RobotWare Add-In Asyril.Eyeplus.RW7 2.0.0 installed

Note

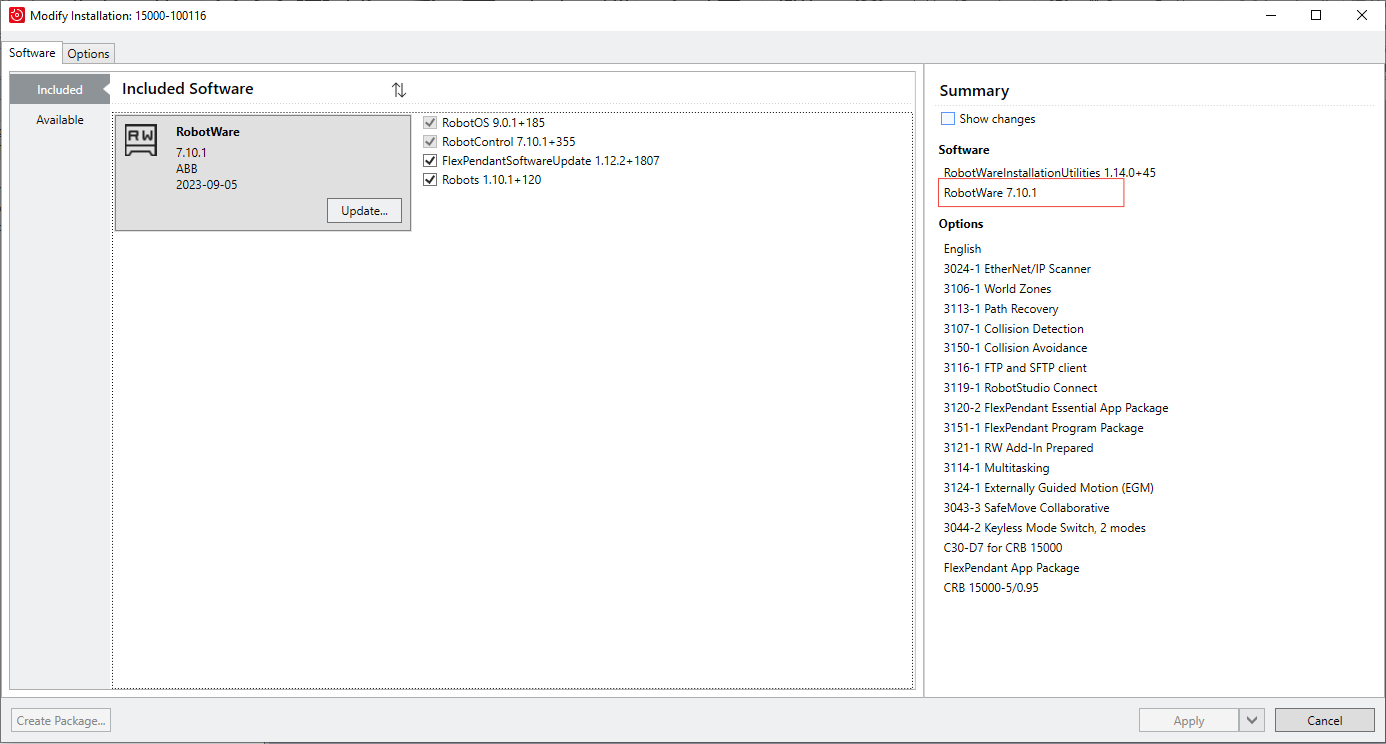
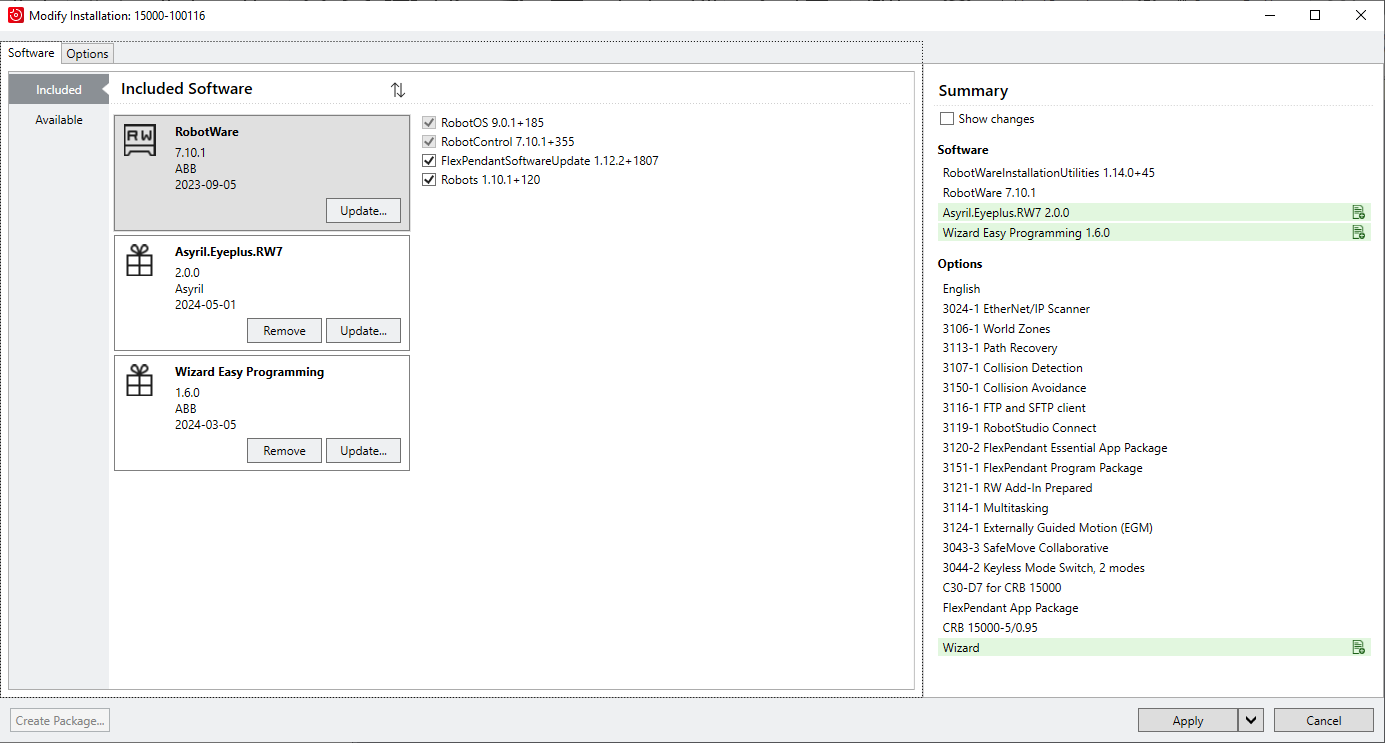
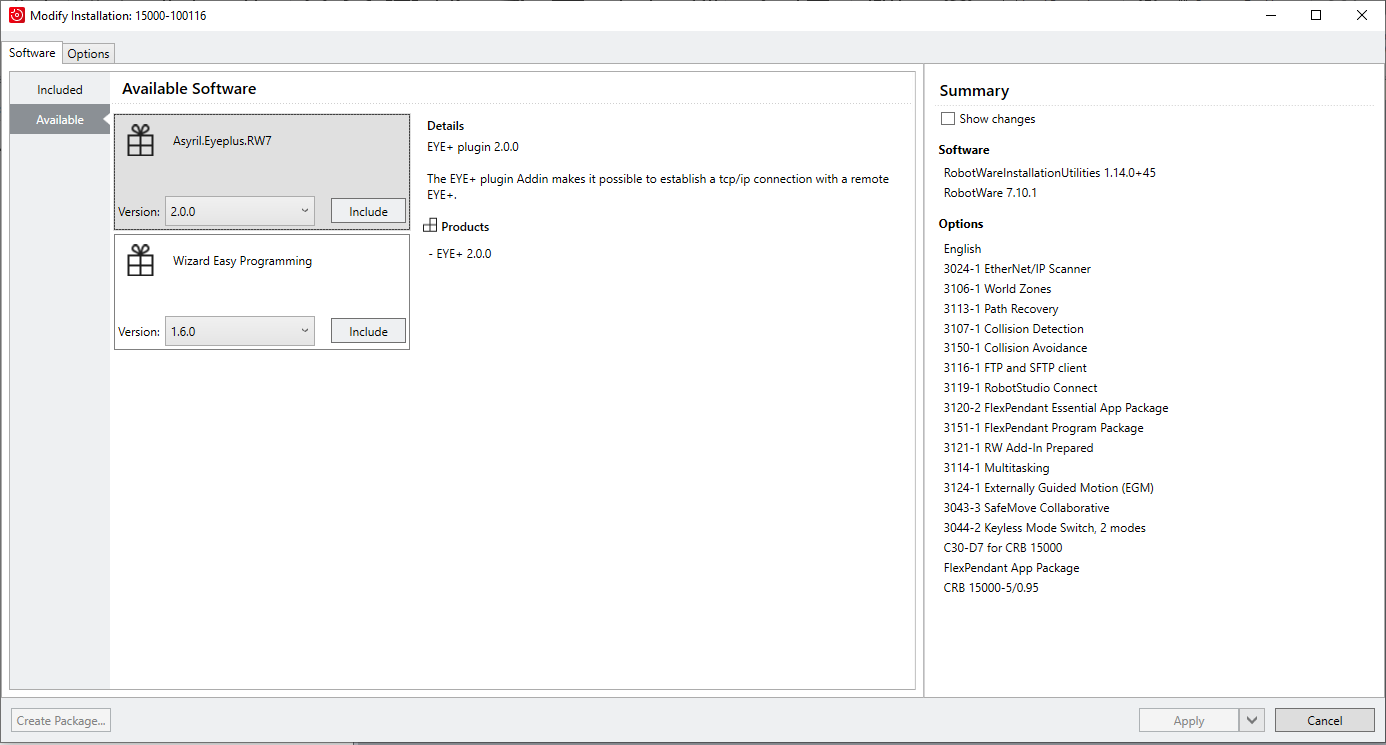
If you are using IRC5 controller, you must install the plugin file Asyril.Eyeplus.RW6-1.1.0.rspak. The name of the package installed is EYE+ Plugin RW6 (1.1.0).

Step 4: Install Add-In system module

  1. Connect your PC to the MGMT Ethernet port.

  2. Set your PC network settings in DHCP mode.

    ../_images/network_settings_installation_manager7.png

    Fig. 4 Internet Protocol Version 4 (TCP/IP) Properties

  3. Open your solution in RobotStudio and go to tab Controller and add your controller

  4. Select Yes, connect to this controller

    ../_images/installation_manager7_connection.png

    Fig. 5 Installation Manager 7 - Select your controller

  5. Click on Installation and select Modify Installation, then from Available tab, click on Include from Asyril.Eyeplus.RW7:

    ../_images/install_package7.png

    Fig. 6 Modify Installation - Available - Select EYE+ Plugin RW7 software

    Note

    If you want to use the Wizard Easy Programming approach, you also need to install the Wizard.

    ../_images/install_package8.png

    Fig. 7 Installation Manager 7 - Distribution - Select Wizard product

  6. Go to Included, make sure all needed software are included and click Apply.

    ../_images/installation_manager_confirmation.png

    Fig. 8 Installation Manager 7 - Confirmation

  7. From the Controller tab, restart your controller using mode Restart (Warmstart).

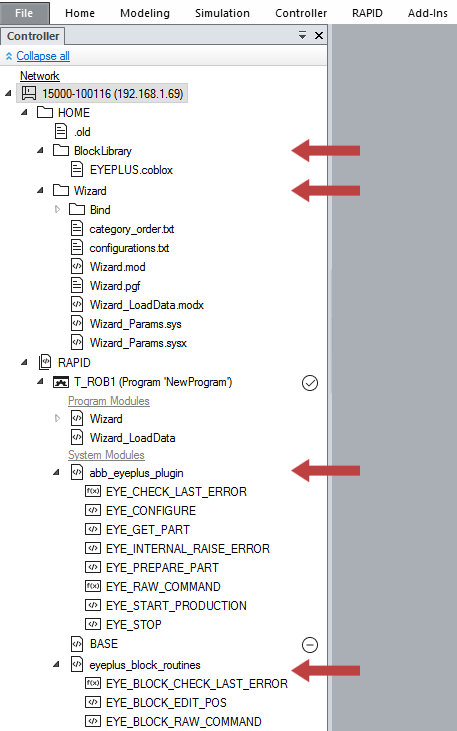
Finally, the system module abb_eyeplus_plugin.sys and eyeplus_block_routines.sysx must appear in your task T_ROB1.

../_images/system_module_installed.png

Fig. 9 System module abb_eyeplus_plugin.sys installed

Note

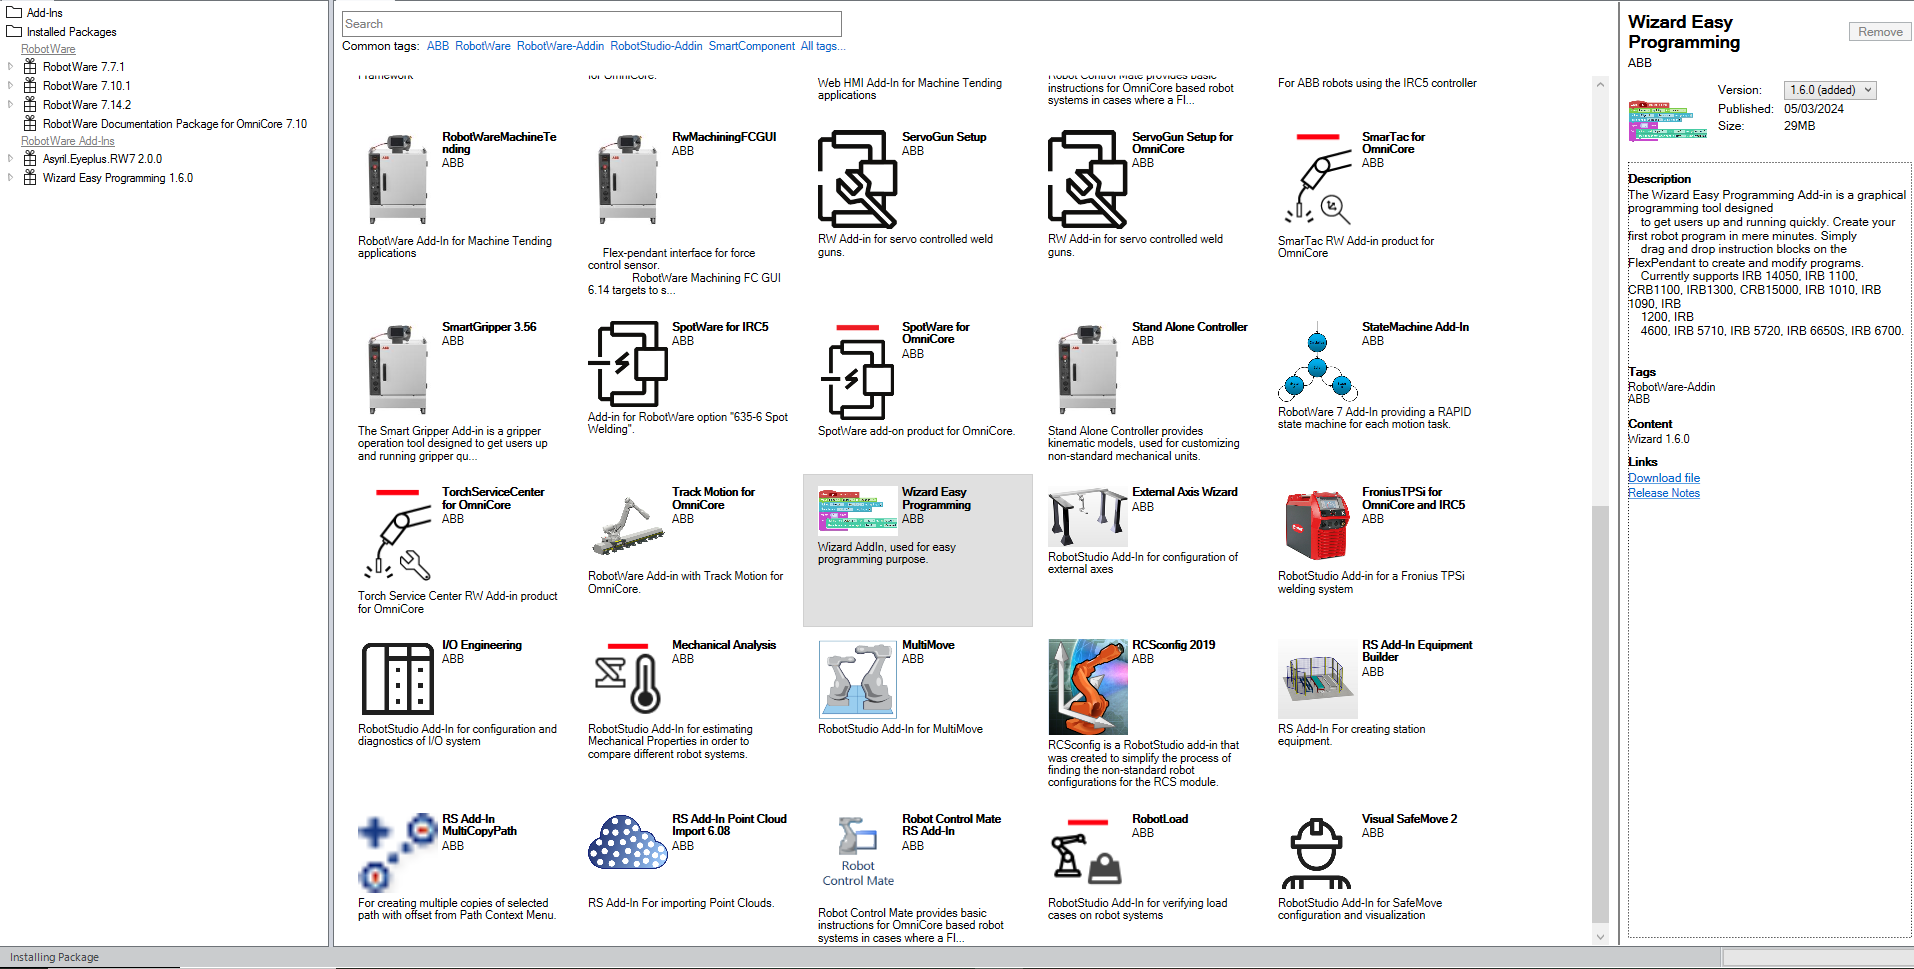
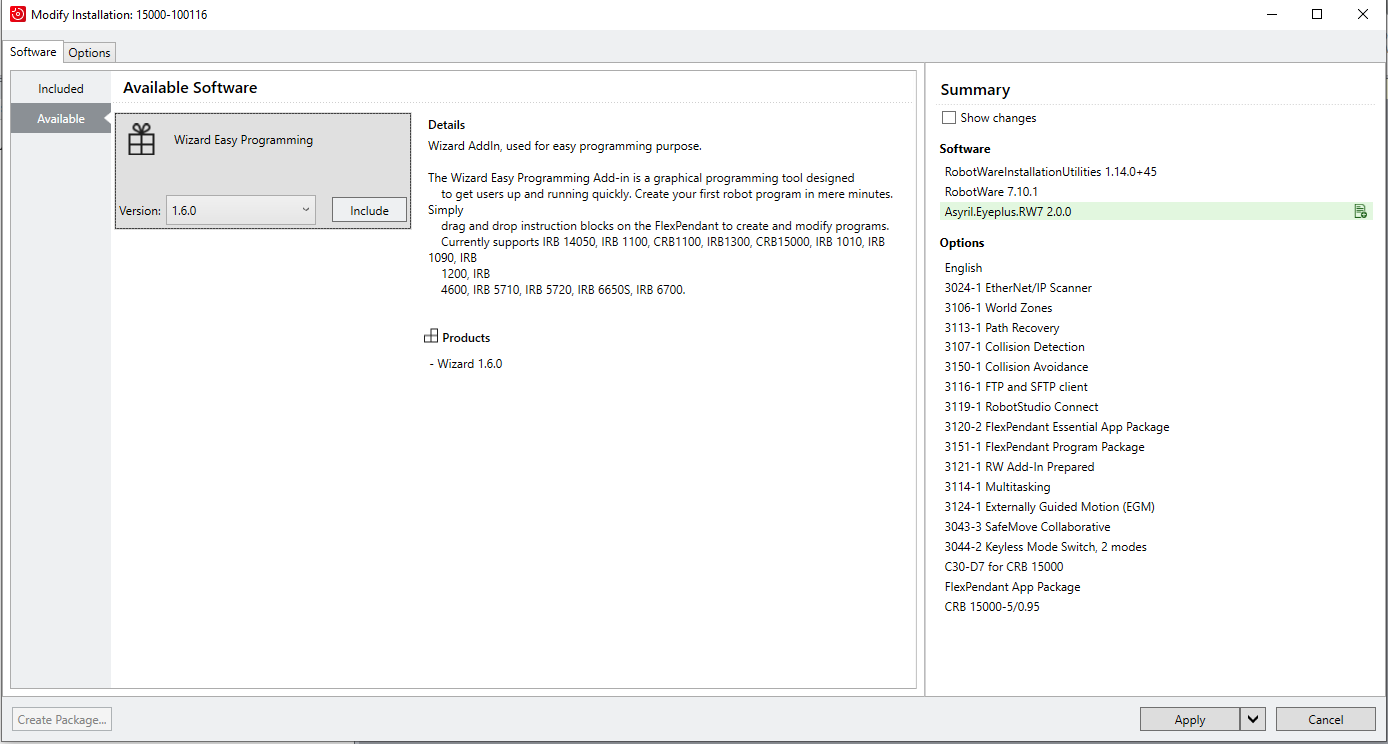
If you want to use the Wizard Easy Programming approach, you also need to install the Wizard Easy Programming software. If you did, the following file must be found under HOME / BlockLibrary / EYEPLUS.coblox and the following folder HOME / Wizard /.