Warning
You are reading an old version of this documentation. If you want up-to-date information, please have a look at 5.4 .5. Pick Angle Teaching
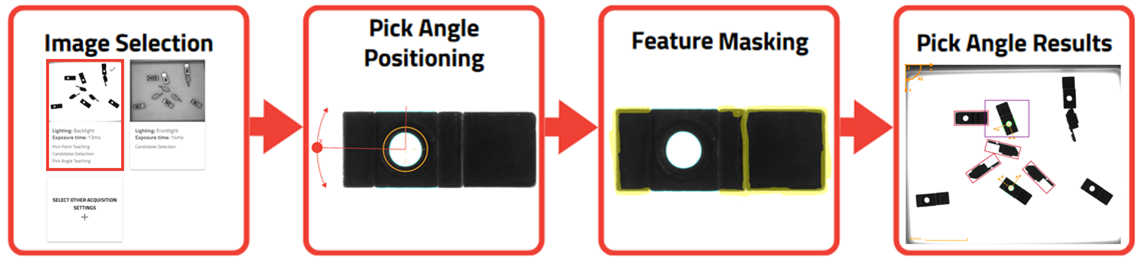
Fig. 101 Pick Angle Teaching overview
Depending on the geometry of your parts, you may need to know the angle of the part for the robot pick up. The purpose of this step is to teach to the system a new reference model (based on the same reference candidate) and to specify the relative orientation of the part with respect to this model.
The reference model is defined by the features detected on the same reference candidate as in the previous step. From the reference features, the orientation of the X and Y axes of the part will define the orientation of the part.
The angle of the part orientation is used to define the RZ angle of the candidates sent by EYE+ when get_part is called.
Note
This step is optional, it can be skipped if your part does not have a pick angle. To skip this step, click on .
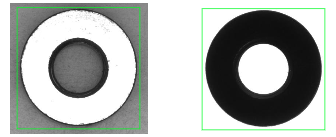
Fig. 102 A washer has no pick angle (Frontlight: left, Backlight: right)