Warning
You are reading an old version of this documentation. If you want up-to-date information, please have a look at 5.4 .How to change the IP Address on your Windows PC?
To assign a new static IP address with Windows 10, you will need to open the “Network Connections” window. To do so, click Start > Settings > Control Panel > Network and Internet > Network and Sharing Center > Change adapter settings.
In the list of network, select the one you want to use for the connection. Do a right click and select “Properties”.
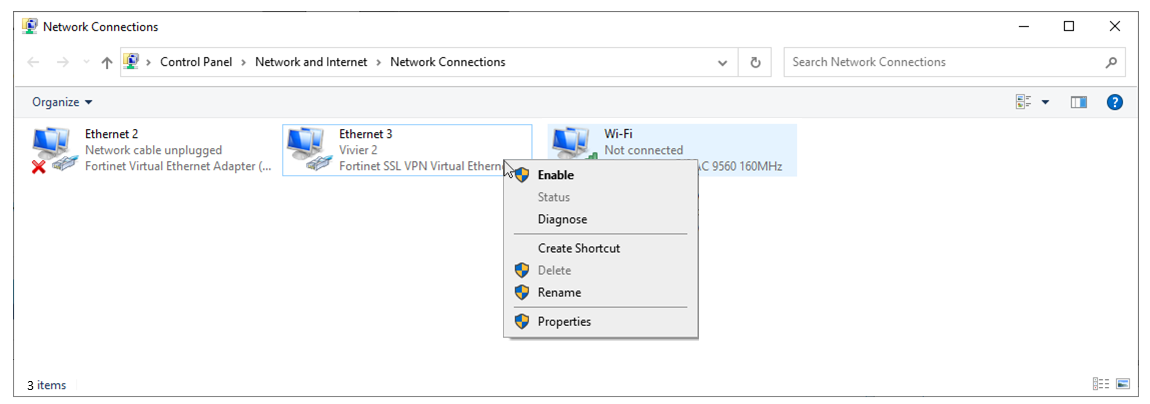
Fig. 281 Network Connections
Double click on “Internet Protocol Version 4 (TCP/IPv4). If you want to assign a static IP address to this network, you must select “Use the following IP address”. Then enter the right IP address and mask in each field. Click on “OK”.
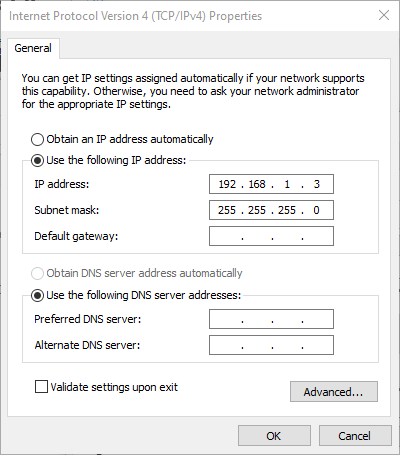
Fig. 282 Internet Protocol Version 4 (TCP/IPv4) Properties
Important
The computer’s IP address must belong to the same subnet as the connected device IP address. For example, if your device has an IP address of 192.168.1.50 with a mask of 255.255.255.0, the computer’s IP address must be between 192.168.1.1 and 192.168.1.49 or between 192.168.1.51 and 192.168.1.254 with the same mask.