Warning
You are reading an old version of this documentation. If you want up-to-date information, please have a look at 5.4 .System
Access the system settings through and System.
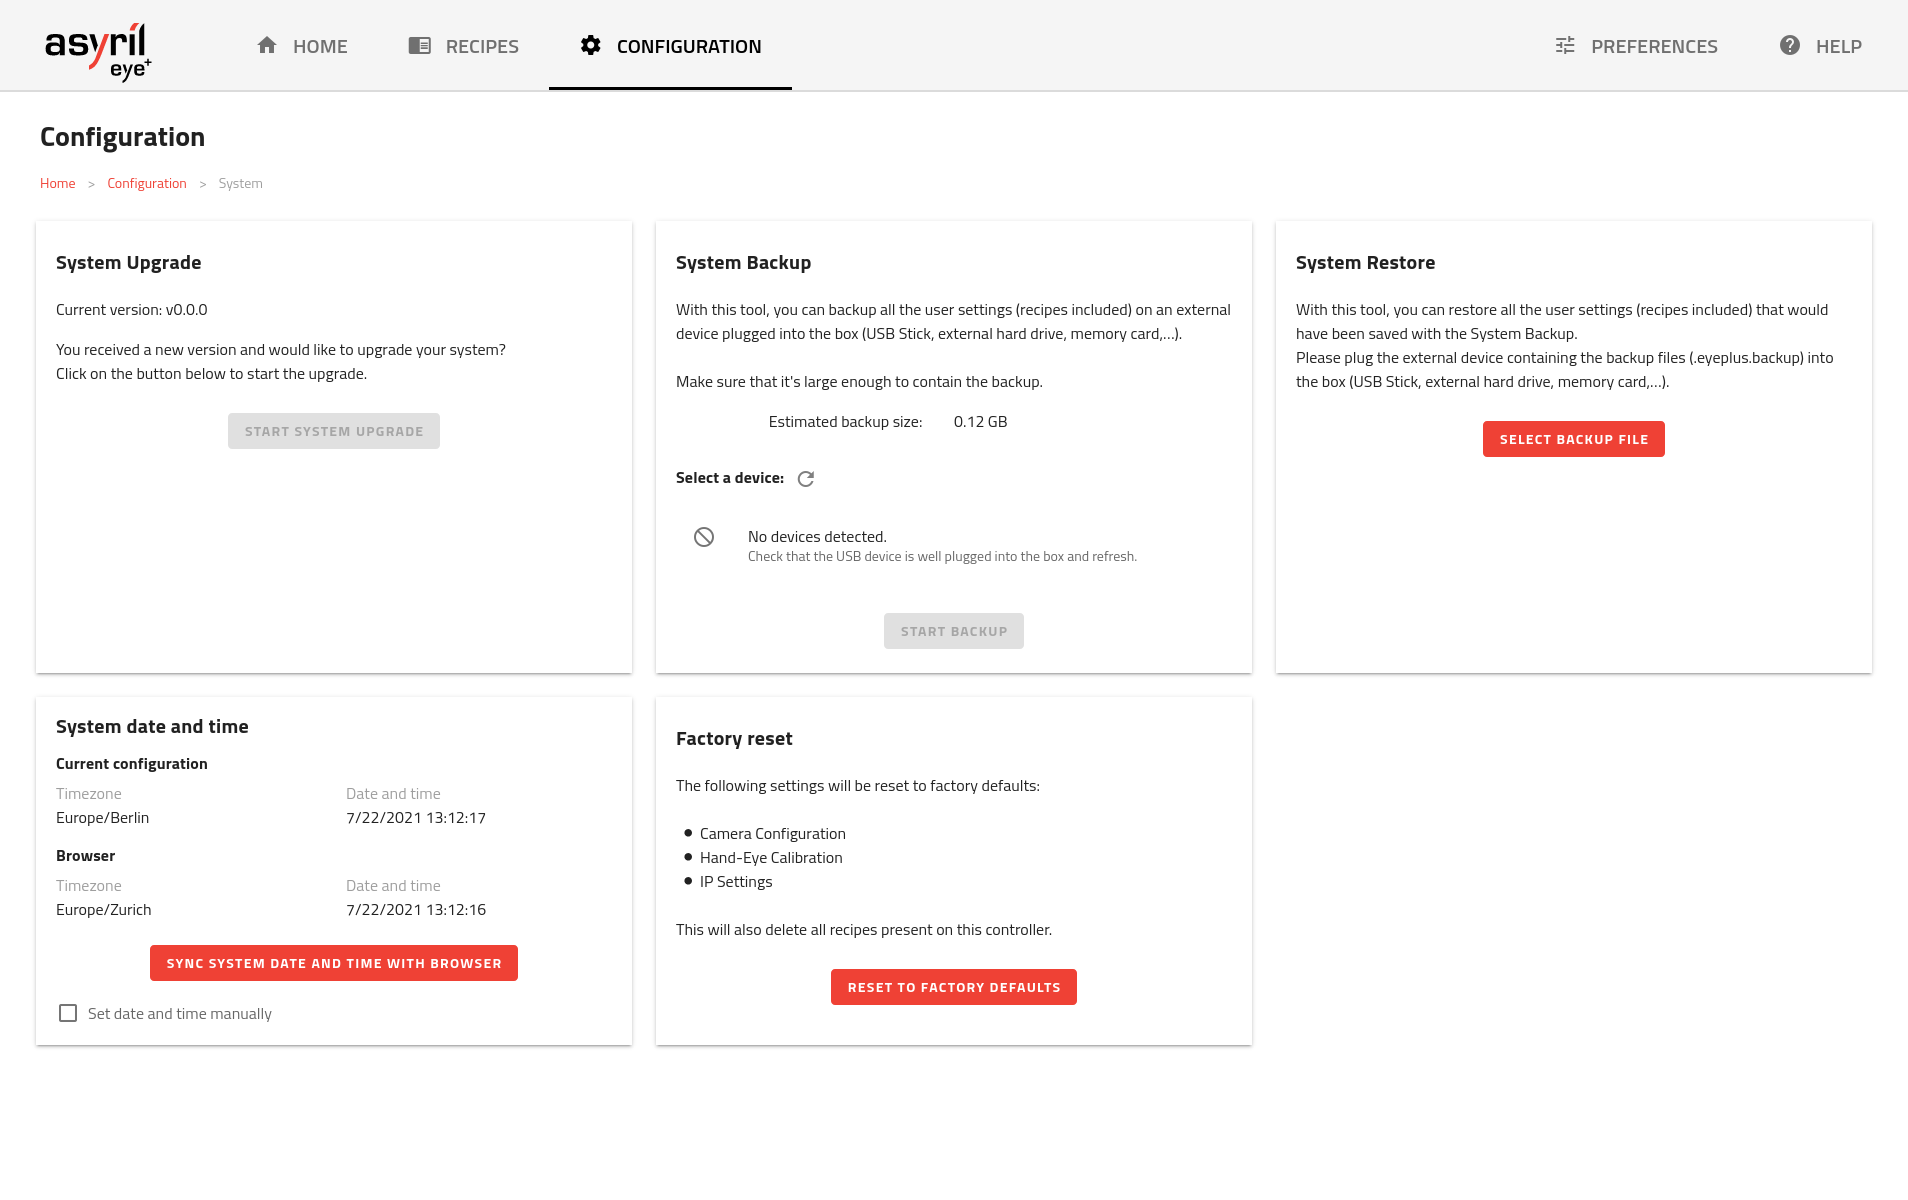
Fig. 181 System Configuration
This page lets you perform multiple actions on your system:
Note
System upgrade, backup and restore cannot be performed while being in any other state than Ready.
System upgrade
Before upgrading the system, it is strongly recommended to create a system backup.
Periodic upgrades will be available. System upgrade allows you to obtain the latest EYE+ functionalities. The file format of the new version provided by Asyril is a .upgrade. The file can be downloaded from EYE+ Studio Release.
Click on to access the upgrade wizard and follow the instructions.
Once the upgrade wizard is open, you will have to provide the upgrade file to the system, wait for the it to complete and the system to reboot. When the system enters the upgrading state, the status led will blink faster (5Hz) and will be off while the system reboots.
The whole upgrade process should take less than 15 minutes to complete. Upgrading can take around 7 minutes and rebooting could take around 5 minutes depending on your system configuration.
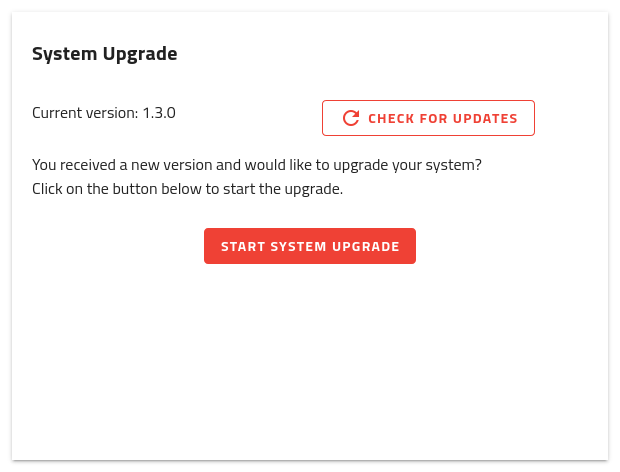
Fig. 182 System upgrade
Important
We advise you to perform a System backup before upgrading your system. Asyril will not be responsible for any loss of data if a backup was not properly performed before the upgrade.
Warning
To ensure that your recipes are compatible with the new upgrade, please refer to the release notes. If you have any questions, please contact the support team.
Note
You can click on to verify if a new version is available. Note that this will only work if your computer is connected to the Internet.
System backup
You can use this interface to create a system backup. The backup saves all your recipes and configuration:
Note
Recipe identifiers do not change when a backup is made.
This backup is saved as an .eyeplus.backup file.
To create a backup you must plug a USB storage device into one of the two USB ports and click on refresh to detect the drive.
Next, select the USB device and click on . This may take some time to complete.
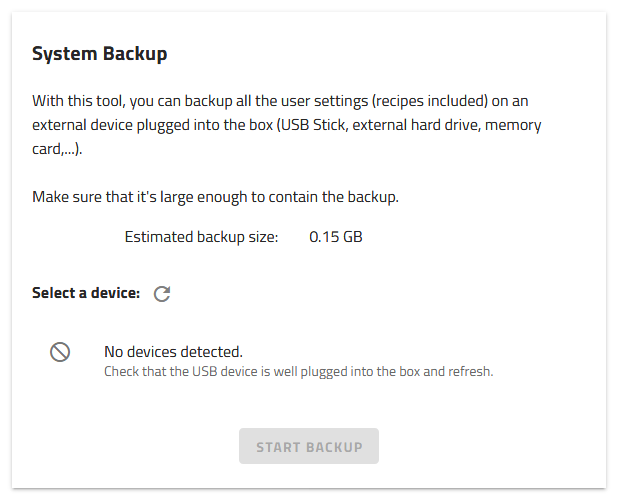
Fig. 183 System backup
Note
We advise you to back up your system frequently.
System restore
From here you can restore your system from a backup file.
To perform a restore, insert a USB drive containing a backup (file .eyeplus.backup) and click on to select the right backup file.
Then, confirm the selection and wait for the restore to complete.
Warning
It is not possible to retrieve recipes and configuration that were stored in your EYE+ after the restore. They will be completely overwritten by the restore.
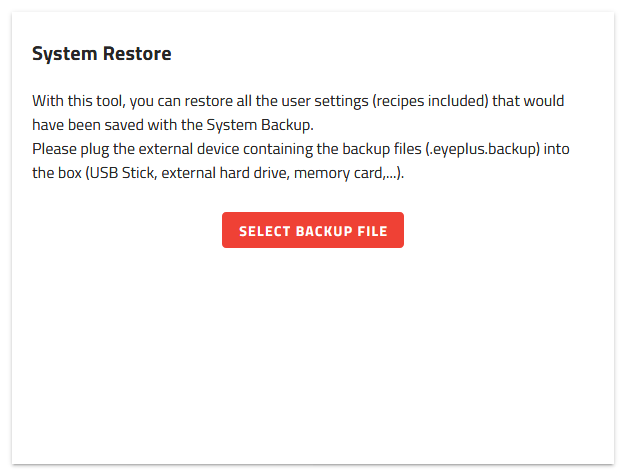
Fig. 184 System restore
System date and time
EYE+ Controller date and time are set to Central European Time (CET) in our facility before shipping the controller. Depending on your timezone, you may like to have different settings. You can change these here.
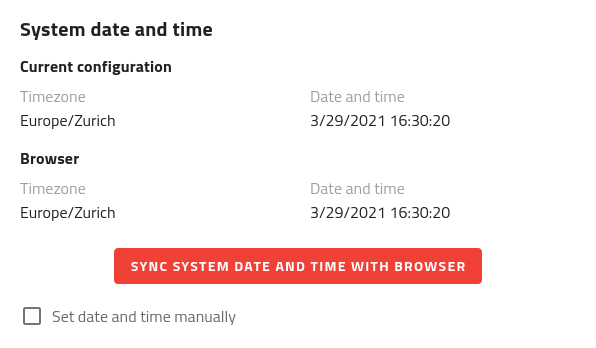
Fig. 185 System date and time
The standard way is to synchronize EYE+ Controller timezone, date and time with your browser. This can be done by using .
Note
If the synchronization is not working for you (different settings desired), you can switch to manual mode and specify the timezone, date and time yourself.
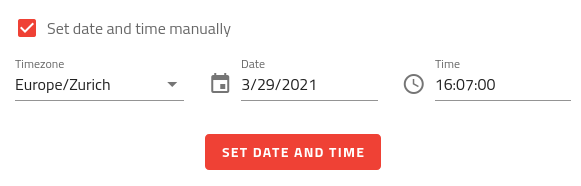
Fig. 186 Manual setting of timezone, date and time
System factory reset
Should you ever need to return your controller to the configuration it had when you received it, you can reset it to factory defaults. This could be useful if you face issues with the IP configuration you applied for instance.
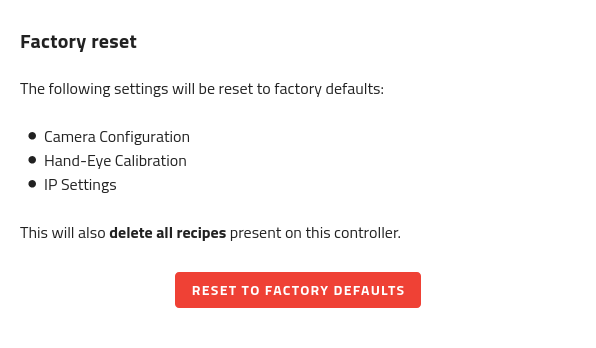
Fig. 187 System factory reset
Warning
Resetting the system to factory defaults will clear the camera configuration, hand-eye calibration and reset the IP settings. In addition, all recipes currently on the EYE+ Controller will be deleted so make sure you export those you still need before resetting to factory defaults.
After clicking on the reset button, you will have to enter the EYE+ Controller serial number before you can actually proceed with the reset.
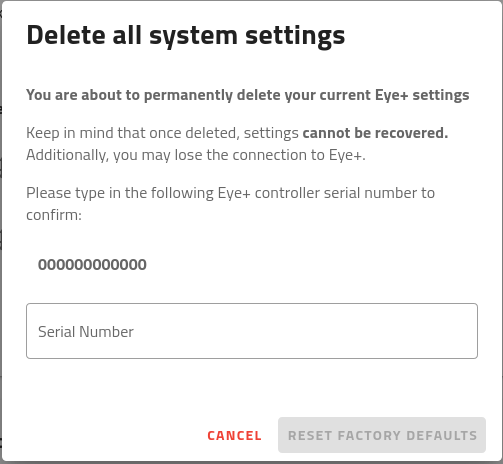
Fig. 188 Confirmation window
Licensing
Some advanced features of EYE+ are only available with a separate license. Should you be interested in one of them, contact us to order your license. You can then use this section to import it into EYE+. You can additionally get more information on the license(s) currently installed by expanding each entry.

Fig. 189 Manage licenses
Note
If you ordered your system with one or several features requiring a license, it will be delivered with the corresponding license already installed.