Warning
You are reading an old version of this documentation. If you want up-to-date information, please have a look at 5.4 .System
Access the network interfaces settings through and System.
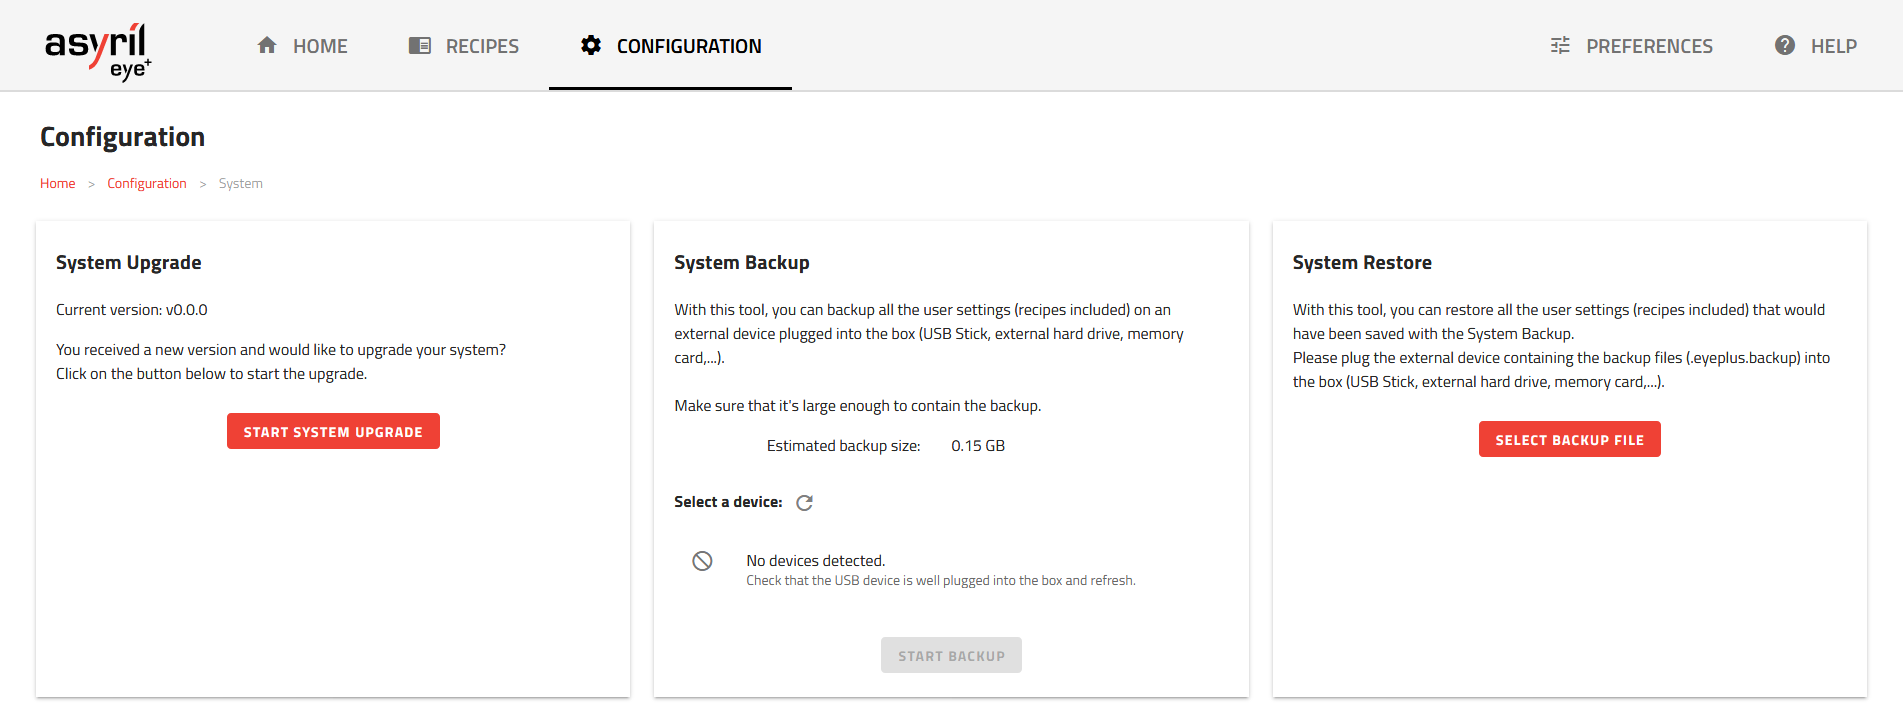
Fig. 150 System Configuration
This page gives you the possibility to perform multiple actions to your system:
Note
System upgrade, backup and restore cannot be performed while being in other state than Ready.
System upgrade
Before upgrading the system, it is strongly recommended to create a system backup.
Periodic upgrades will be available. System upgrade allows you to obtain the latest EYE+ functionalities. The file format of the new version provided by Asyril is a .upgrade.
Click on to access the upgrade wizard and follow the instructions.
Once the upgrade has stared, you will have to provide this new version to your system and wait for the end of upgrade process and system reboot. When the system enters the upgrading state, the status led blinks faster (5Hz) and then when the system reboots during the upgrade, the led will be off.
The upgrade takes less than 15 minutes to complete. Step 3 can take around 7 minutes and rebooting could take around 5 minutes depending on your system configuration.
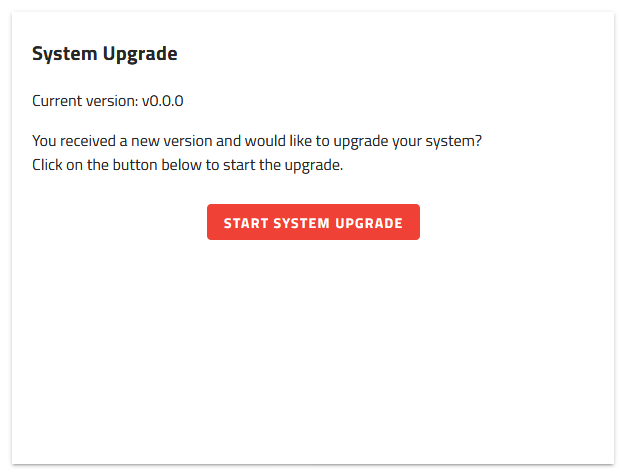
Fig. 151 System upgrade
Important
We advise you to perform a System backup before upgrading your system. Asyril will not be responsible for any loss of data if a backup was not properly performed before the upgrade.
Warning
To ensure that your recipes are compatible with the new upgrade, please refer to the release notes. If you have any questions, please contact the support team.
System backup
You can use this interface to create a system backup. The backup saves all your recipes and configurations:
Note
Recipe identifiers do not change when backup is made.
This backup is saved in a .eyeplus.backup file.
To create a backup you must plug an USB storage device into one of the two USB ports and click on refresh to detect the drive.
Next, select the USB device and click on . This may take some time to complete.
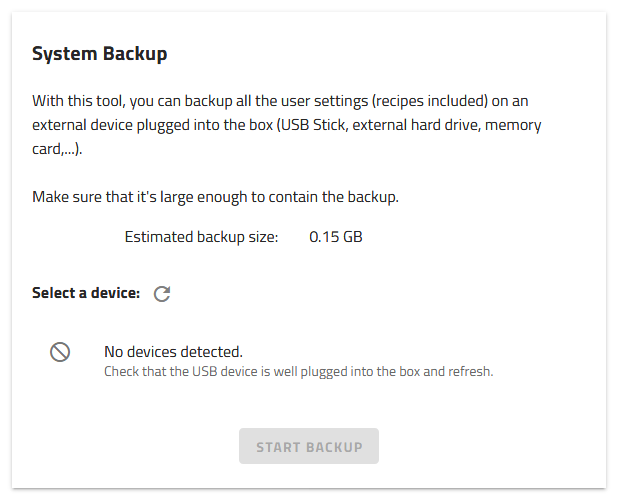
Fig. 152 System backup
Note
We advise you to back up your system frequently.
System restore
From here you can restore your system from a backup file.
To perform a restore, insert a USB drive containing a backup (file .eyeplus.backup) an click on to select the right backup file.
Then, confirm the selection and wait for the restore to complete.
Warning
It is not possible to retrieve recipes and configurations that were stored in your EYE+ before the restore. They will be completely erased by the restore.
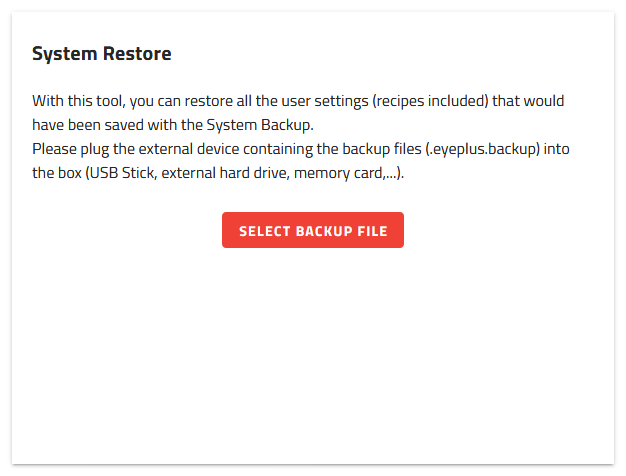
Fig. 153 System restore
System date and time
EYE+ Controller date and time are set in our facility before shipping the controller in Central European Time (CET). Depending on your timezone, you may like to have different settings. You can change these here.
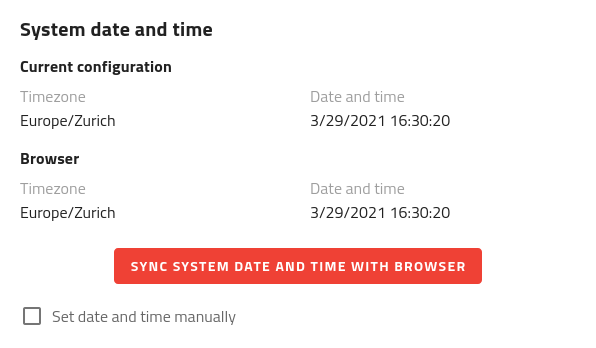
Fig. 154 System date and time
The standard way is to synchronize EYE+ Controller timezone, date and time with your browser. This can be done by using .
Note
If the synchronization is not working for you (different settings desired), you can switch to manual mode and specify the timezone, date and time yourself.
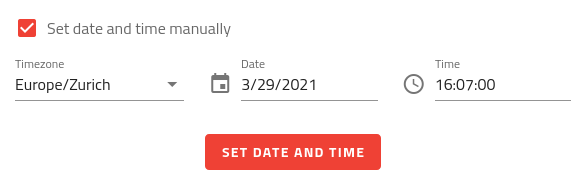
Fig. 155 Manual setting of timezone, date and time