Warning
You are reading an old version of this documentation. If you want up-to-date information, please have a look at 5.4 .7. Asycube Configuration
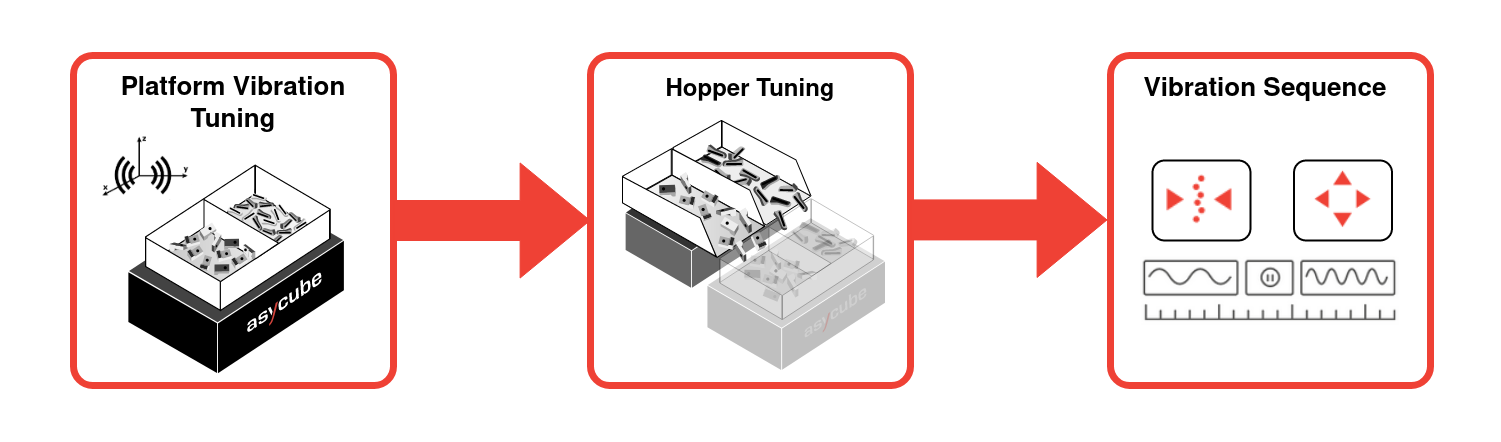
Fig. 251 Asycube Configuration overview
This part is also quite similar to what you would do with a single part so we’ll highlight only the differences here. For a detailed explanation, see 7. Asycube Configuration.
7.1 Platform Tuning
If the concept of platform vibration tuning does not change fundamentally, there are a few differences to be aware of. First off, the Smart Centering vibration is not available as the Asycubes are not physically capable of centering parts in each side independently. Lastly, it may be difficult to tune the vibrations optimally for multiple parts at the same time. It implies using multi-feeding has a performance limit when compared to having a single part on the Asycube.
7.2 Hopper Tuning
Since you are using the multi-feeding feature, you need to tune the vibrations for all your hoppers instead of just one. The tuning process stays the same, but you will now have the ability to select and tune the hopper for each part using the corresponding tab at the top of this page.
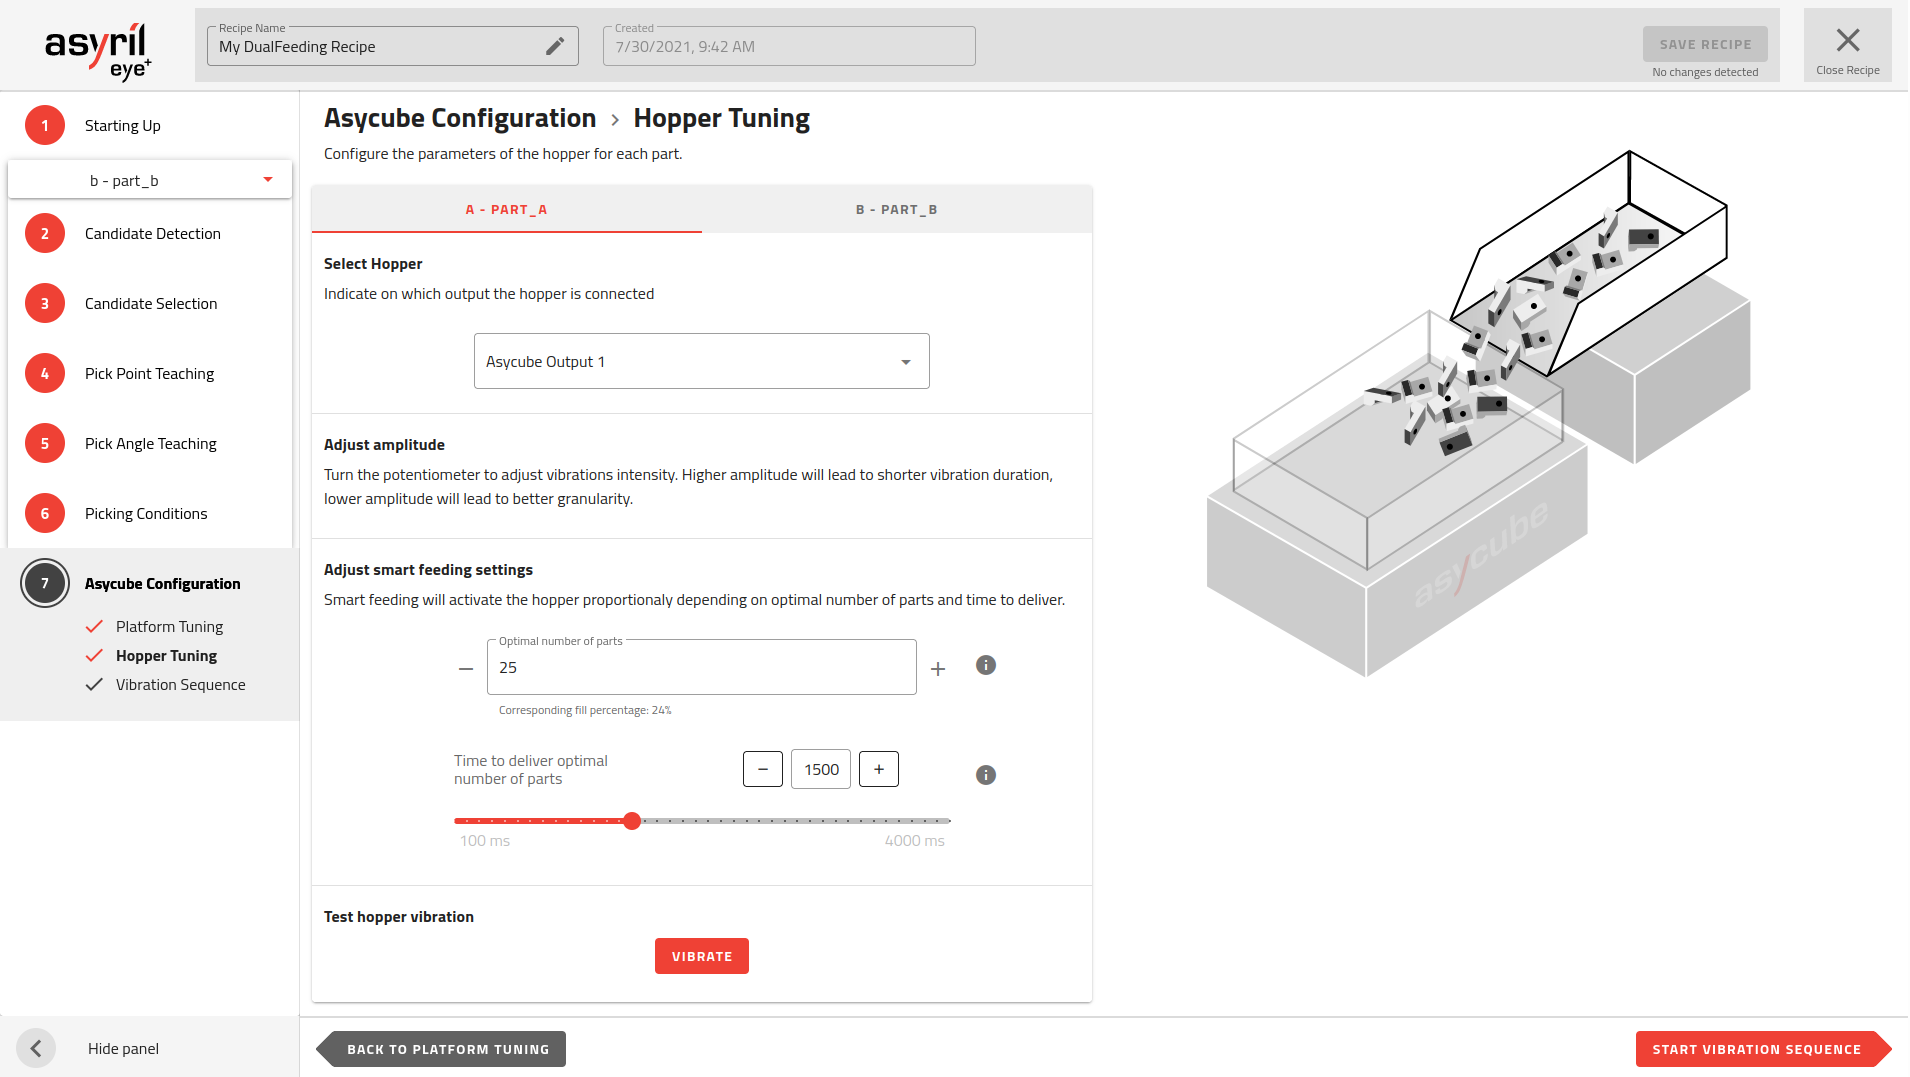
Fig. 252 Multi-feeding - Hopper Tuning
Note
Using the EYE+ Controller outputs requires a GPIO cable that can be ordered from Asyril.
Note
Once you assign one hopper to a part, you cannot assign it to another one.