Warning
You are reading an old version of this documentation. If you want up-to-date information, please have a look at 5.4 .1. Starting Up
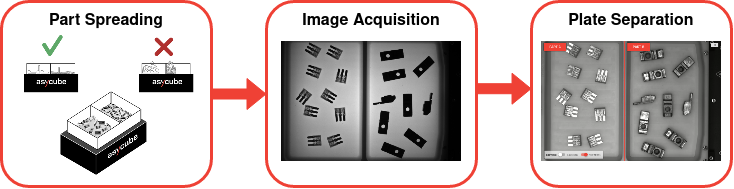
Fig. 246 Multi-feeding - Starting up overview
In this first step, you must place a reasonable quantity of each part on their respective side of the Asycube plate (randomly distributed). EYE+ will generate a database of images with different exposure times using the acquisition lighting settings.
Important
If you have not calibrated your camera, a pop-up window will appear prompting you to do this before creating the recipe. We strongly recommend that you do so before starting your recipe creation. For more information on this wizard, please refer to the Camera configuration wizard section.
Note
Name your recipe with a distinctive name. If you do not specify a name, EYE+ will name the recipe My Recipe by default.
Part Recipe
To create a multi-feeding recipe, you have to create a vision recipe for each part. That means all vision-related steps must be performed as many times as you have parts, once for each part. These are displayed in the side panel under a group which title is the current part name.
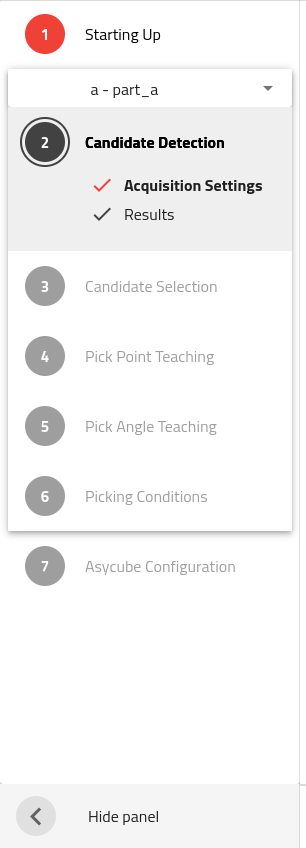
Fig. 247 Multi-feeding - Side Panel
Note
You must complete all steps for one part before moving on to the next. When the first part is complete, you may go back to it at any time using the selector showing the part name.
All these steps are the same as those used to create a single part recipe, except you only work on a section of the plate at a time. You will notice a dark veil displayed on the images to hide the remaining sections.
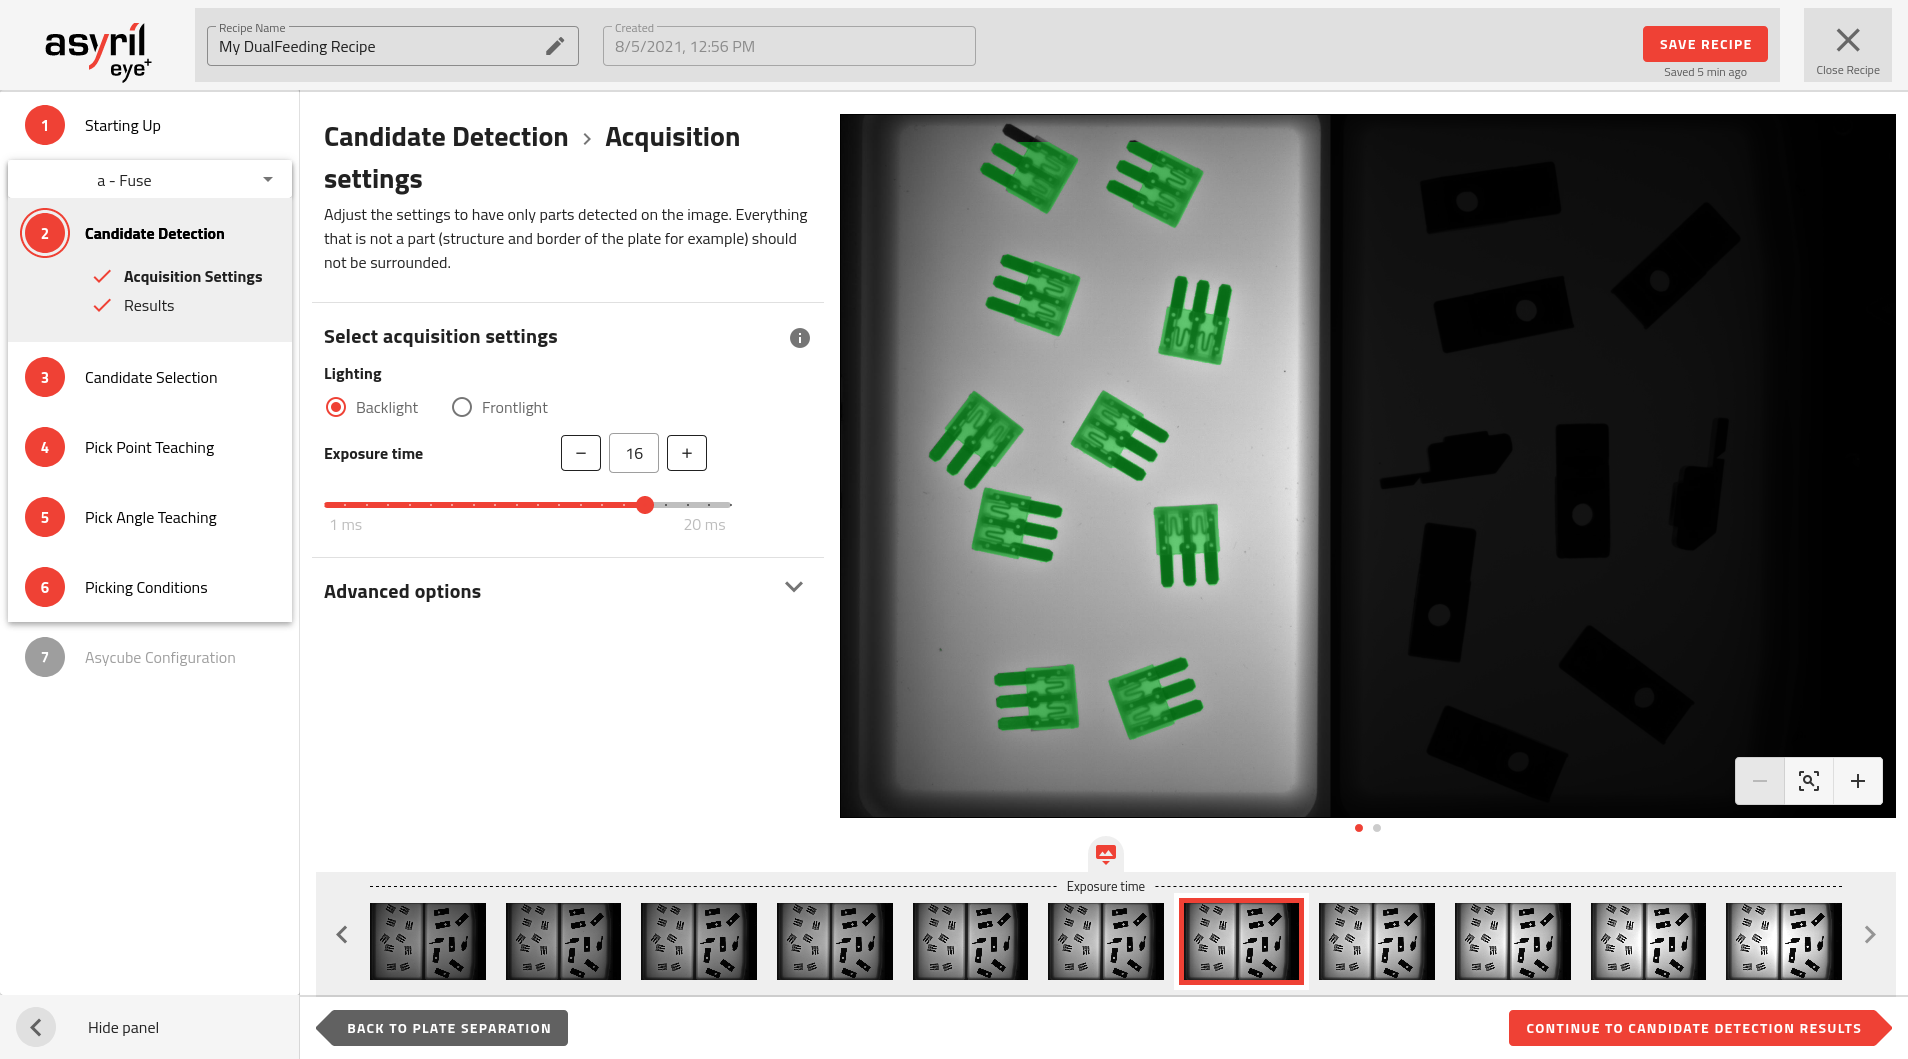
Fig. 248 Multi-feeding - Image Display