Warning
You are reading an old version of this documentation. If you want up-to-date information, please have a look at 5.3 .How to generate an SSL/TLS Certificate
Important
This section describes how to generate a self-signed TLS certificate using OpenSSL. To establish a secure connection in a production environment, we recommend you use a Certificate Authority (CA) issued certificate.
This process consists in five steps: generating a private key, using it to create a Certificate Signing Request (CSR), generating the certificate itself, adding the private key into the certificate file and trusting it into your web-browser.
1. Generating the private key
To generate a private key, you need to open a command prompt/terminal and enter the following command:
openssl genrsa -out <filename>.key 2048
where <filename> is the name you want to give to that private key. The output will be generated in the directory you are running this command from.
You will be prompted to enter a secure password for the key. Enter a strong password and remember it for later.
2. Creating a CSR
Run this command, replacing <filename> with your key filename, and entering the details when prompted:
openssl req -new -key <filename>.key -out <filename>.csr
3. Generating the certificate
Finally, you can run this last command to generate you self-signed certificate:
openssl x509 -req -days <days> -in <filename>.csr -signkey <filename>.key -out <filename>.pem
The -days <days> is optional and allows you to define a validity period for your certificate. You can remove it if you don’t want it to expire.
4. Adding the private key into the certificate file
Since EYE+ expects a single file containing all the information required, you need to copy the contents of the <filename>.key file you generated in step 1 into the <filename>.pem file so it looks as follows:
-----BEGIN CERTIFICATE-----
<Your certificate contents>
-----END CERTIFICATE-----
-----BEGIN PRIVATE KEY-----
<Your private key>
-----END PRIVATE KEY-----
Note
Since the <filename>.pem file now contains the private key, it should never be shared with anyone and used exclusively with EYE+.
5. Trusting the file into your web-browser
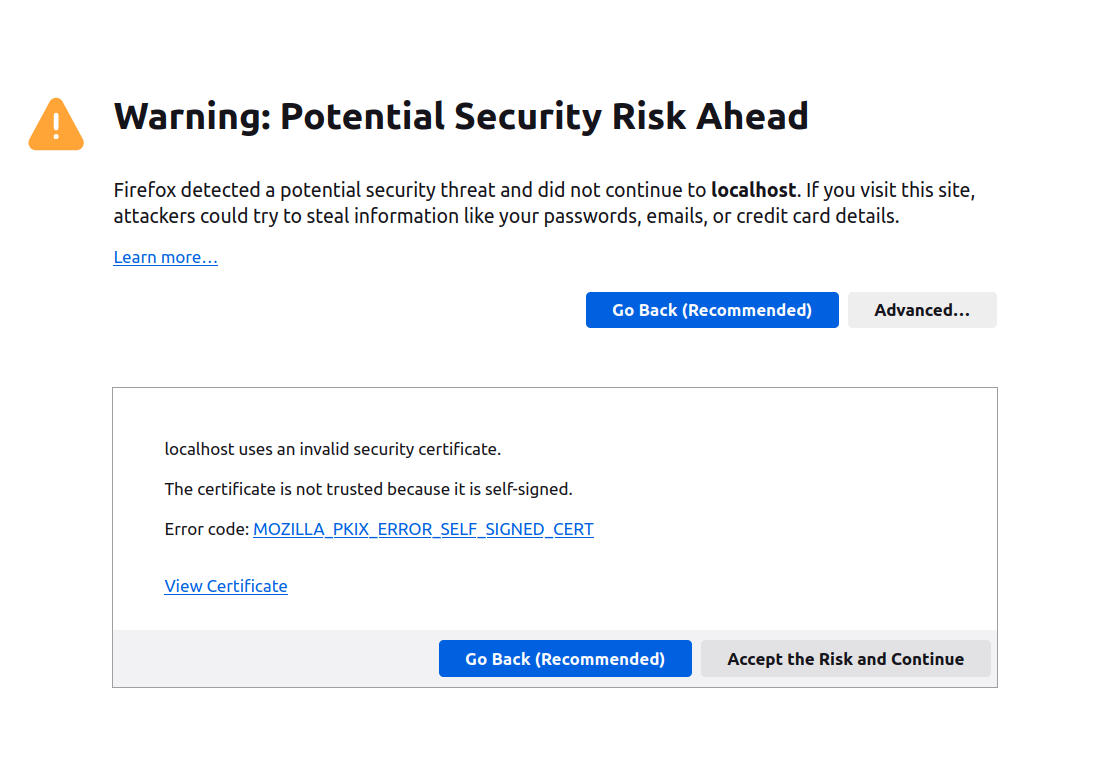
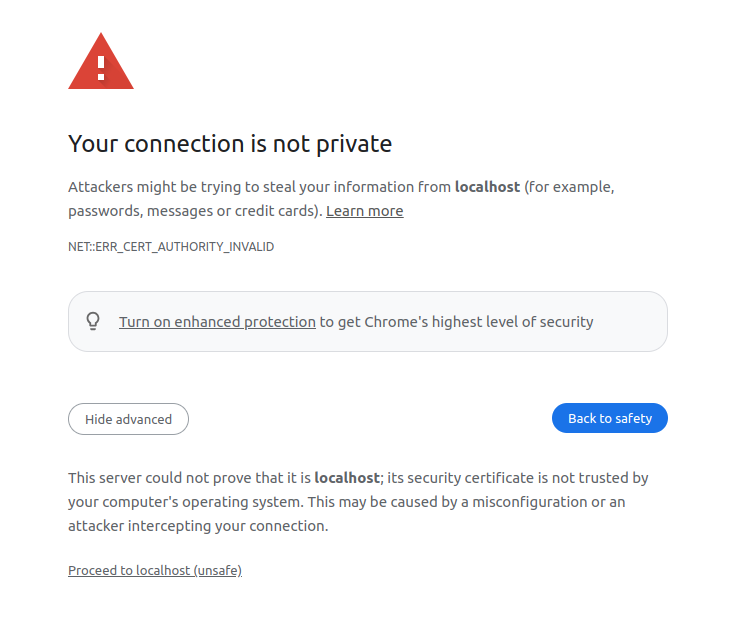
By default, modern web-browsers keep a list of trusted certificate authorities and reject certificates not signed by one of these authorities. That implies the self-signed certificate you just generated will show a security warning. You will have to create a security exception by choosing the Accept the Risk and Continue (Firefox) or Proceed to address (unsafe) (Chrome) option under Advanced.

Fig. 319 Firefox Security Exception

Fig. 320 Chrome Security Exception