Warning
You are reading an old version of this documentation. If you want up-to-date information, please have a look at 5.4 .3.3 Candidate Classification
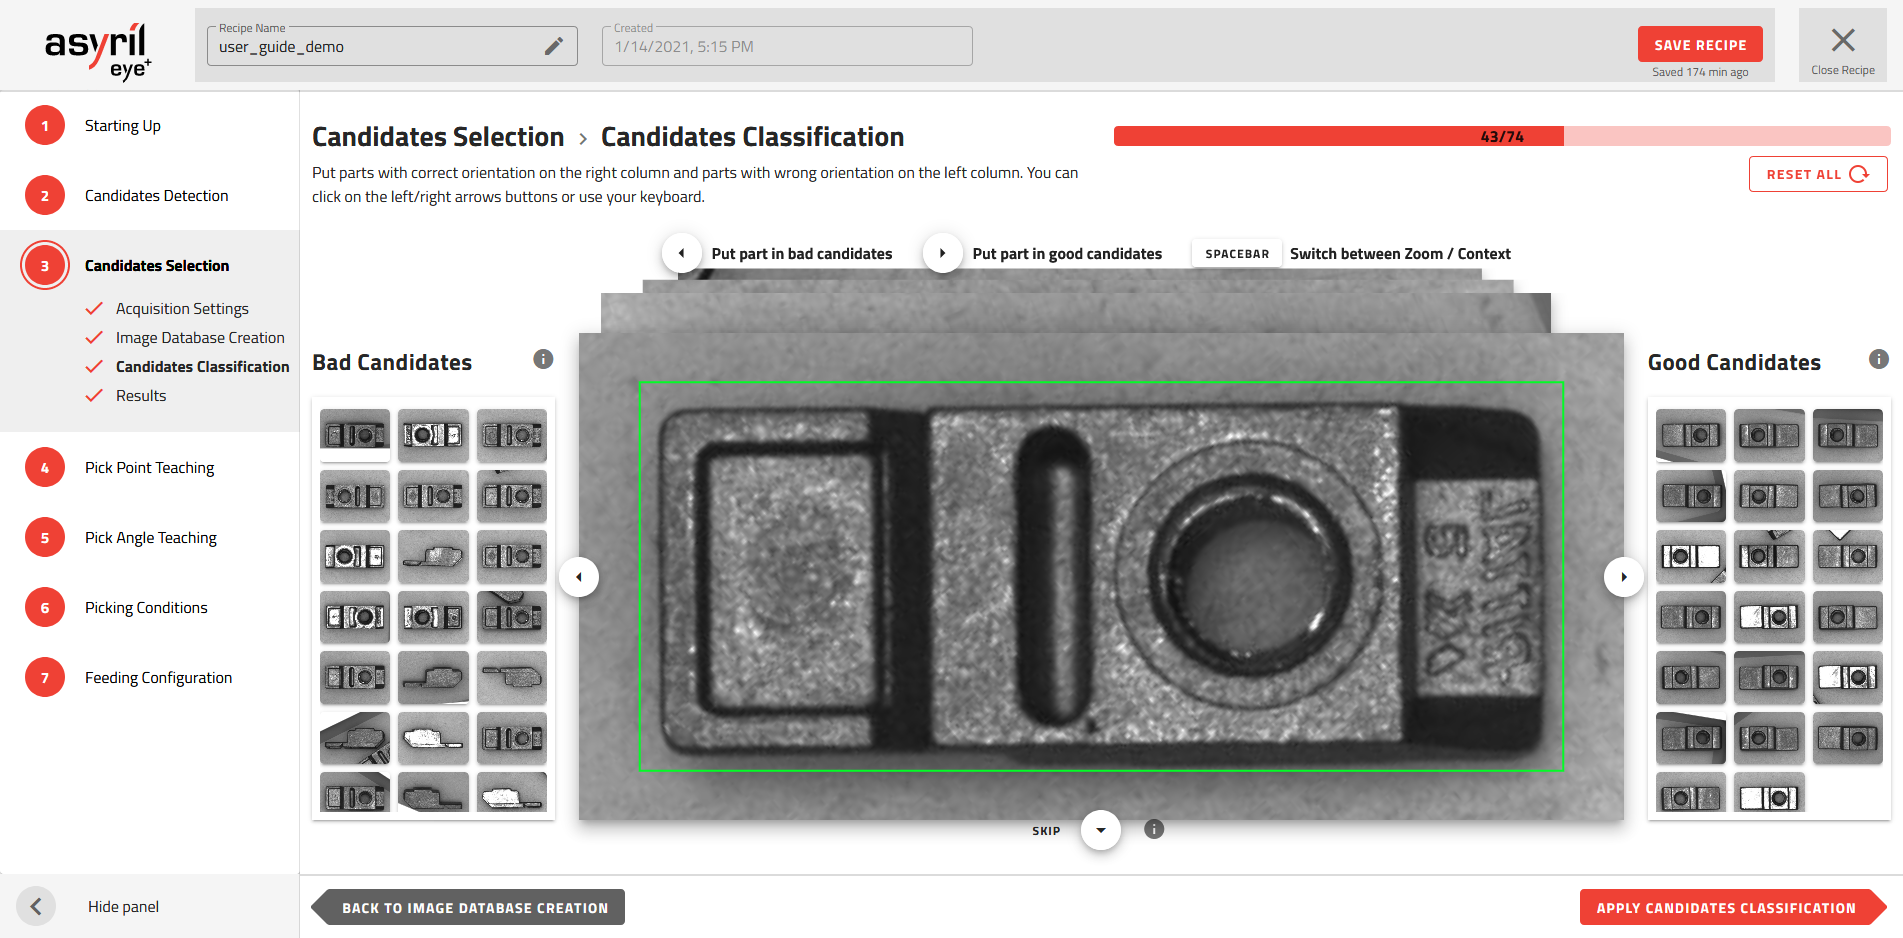
Fig. 80 Candidate Selection - Candidate Classification
Choose the profile of a good candidate
In the candidate classification stage, you have to define what is a good candidate and what is a bad candidate. A good candidate is a candidate which is well oriented for robot pick-up (Fig. 81) and bad candidates are all of the other orientations.
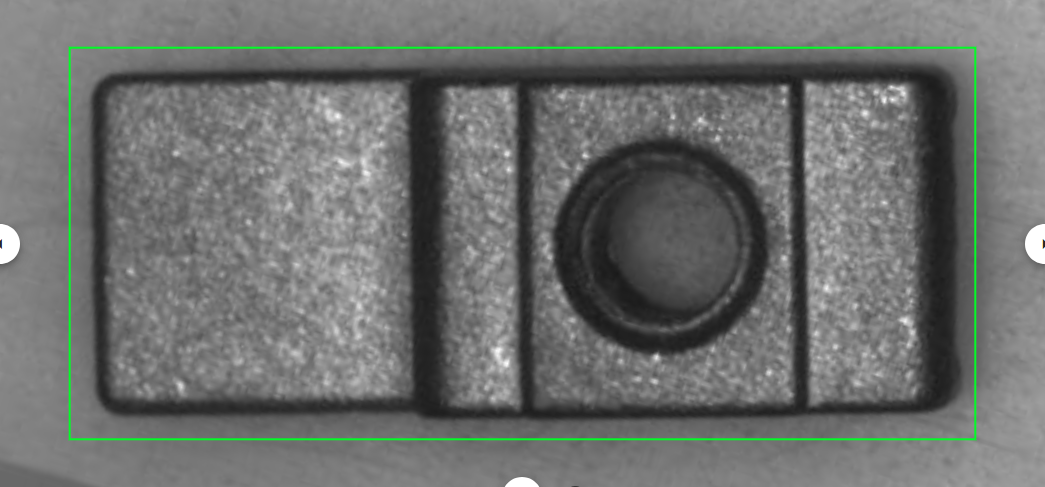
Fig. 81 Good candidate
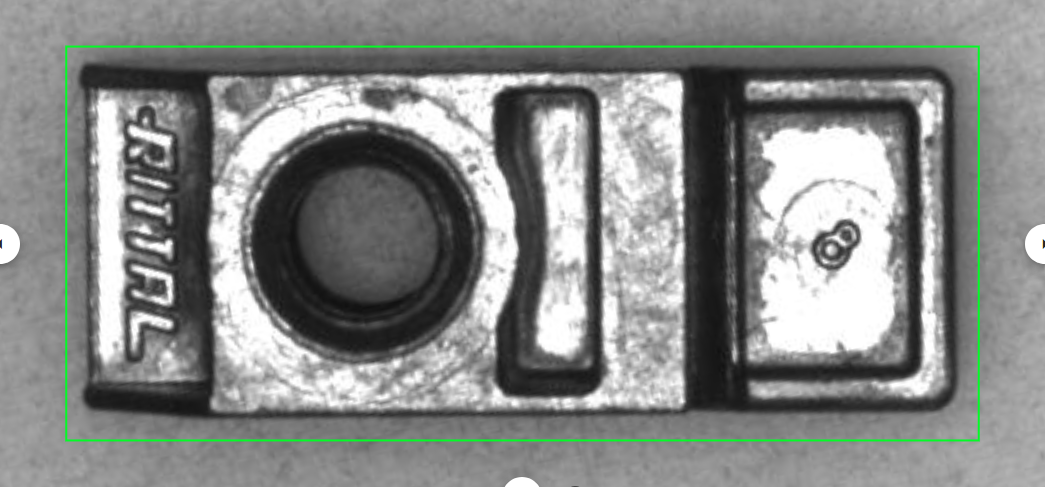
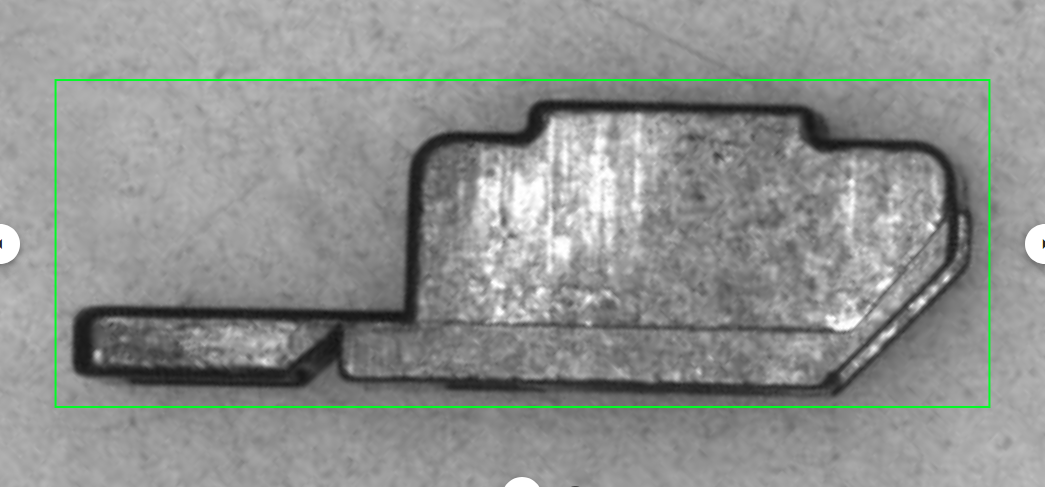
Fig. 82 Bad candidates
Once you have defined the right orientation of your part for robot pick-up, you can feed the right side of the window with all candidates that match the profile and feed the left side with the candidates that do not match.
You must place at least 15 candidates on each side.
Note
It is good practice to fill the right and left side with as much variation as possible in each good and bad category in order to increase the AI algorithm robustness.
Note
If you don’t have enough images to finish filling both sides, you can go back to the previous step and take more images.
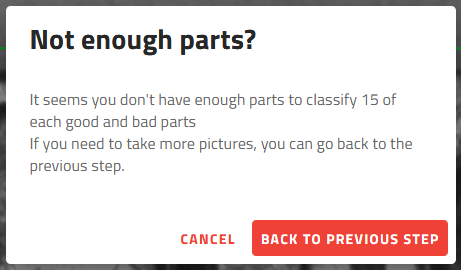
Fig. 83 Not enough parts?
Tip
You can avoid classifying an image by skipping it with the button ![]() . For example, if one side of the
database is already
filled and you only want to finish filling the other side.
. For example, if one side of the
database is already
filled and you only want to finish filling the other side.
Tip
You can use your computer’s keyboard arrows  instead of clicking on the buttons
 ![]()
![]()
![]() .
.
Tip
You can clear the complete classification without loosing the acquired images by clicking on . All the parts will be marked as unclassified.
Apply classification
Click on the to train the classification model according to the candidates provided.
By placing the images on the right or left side, you have associated each candidate to a label (good or bad). When you apply the classification, these images with their label will feed a neural network that will enable EYE+ to distinguish the good and the bad candidates.