Warning
You are reading an old version of this documentation. If you want up-to-date information, please have a look at 5.3 .3.3 Candidate Classification
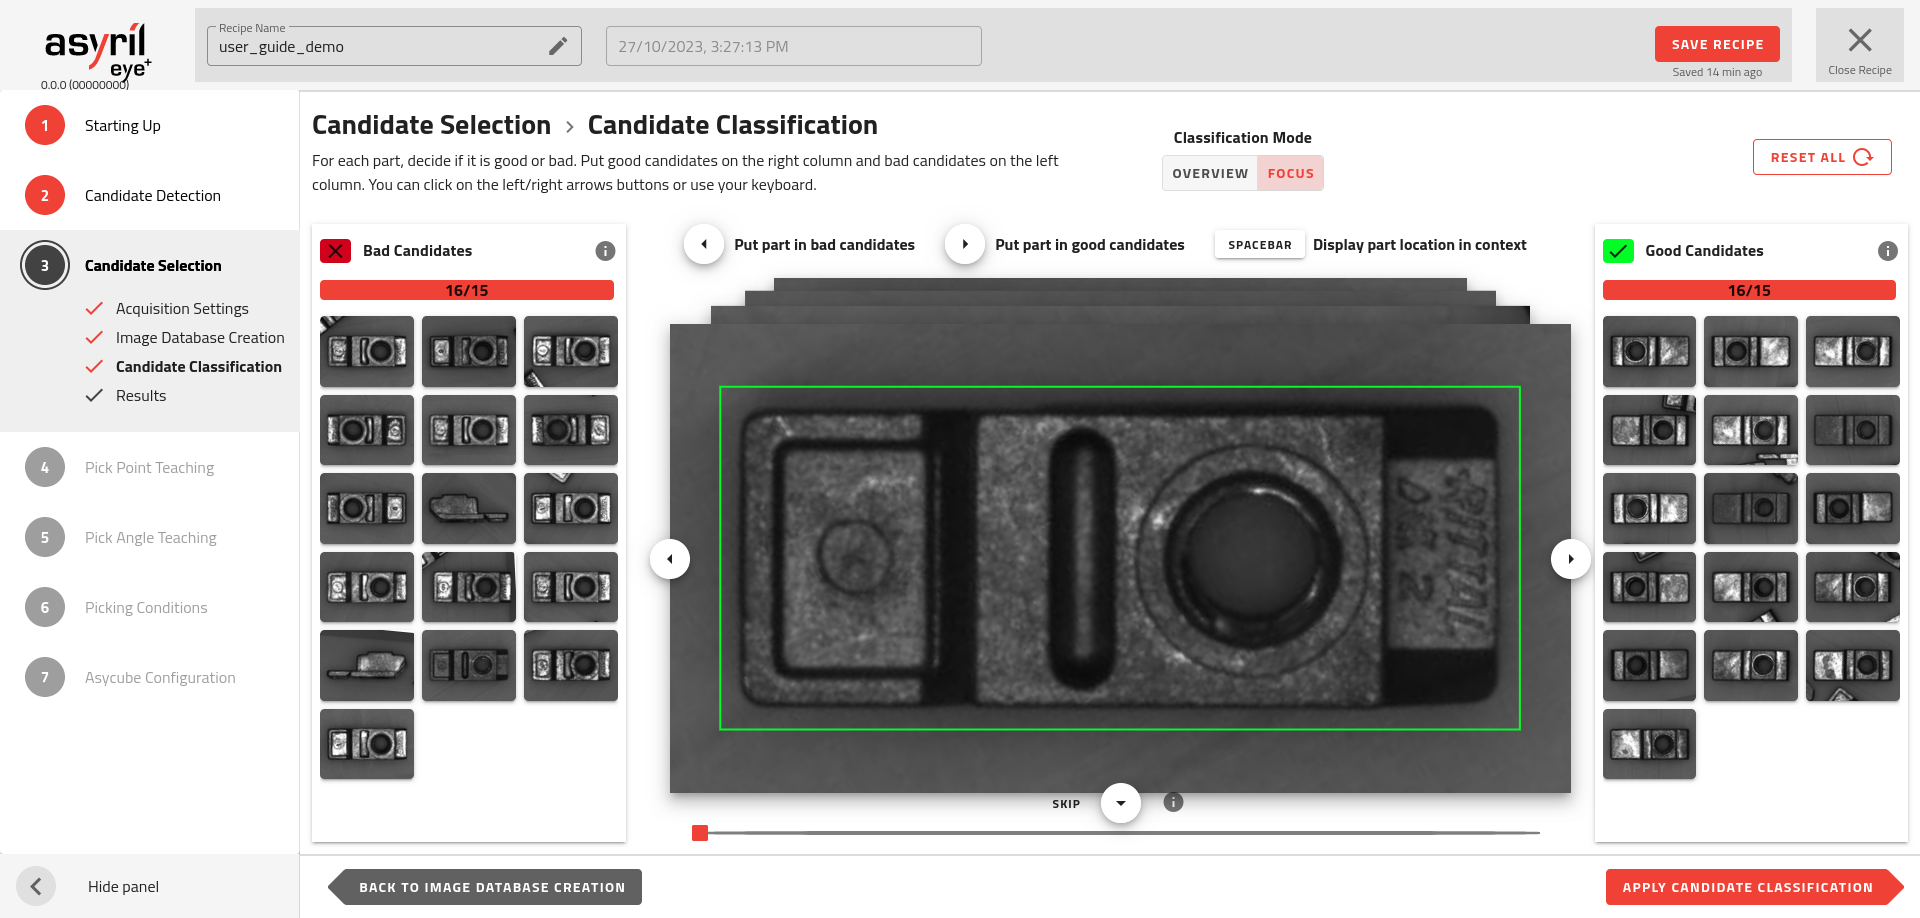
Fig. 93 Candidate Selection - Candidate Classification
Choose the profile of a good candidate
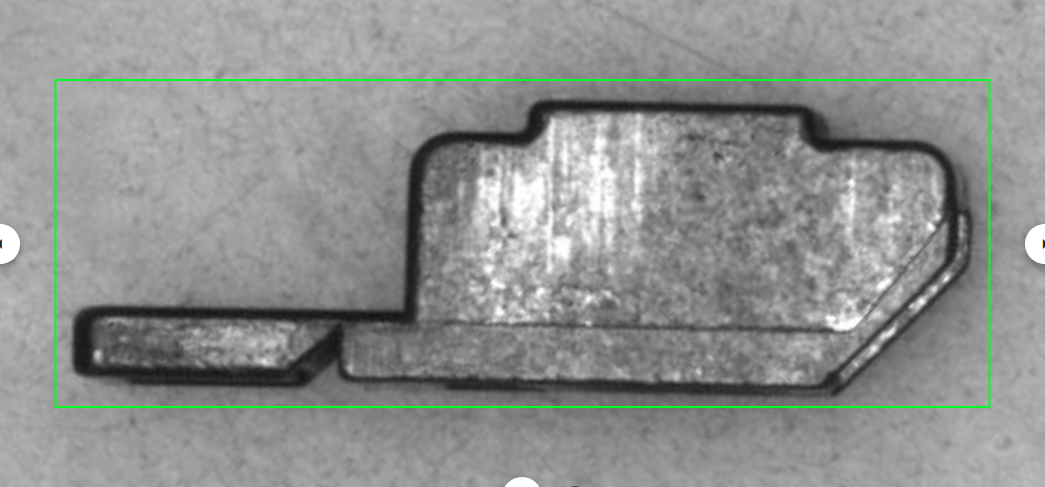
In the candidate classification stage, you have to define what is a good candidate and what is a bad candidate. A good candidate is a candidate which is well oriented for robot pick-up (Fig. 94) and bad candidates are all of the other orientations.
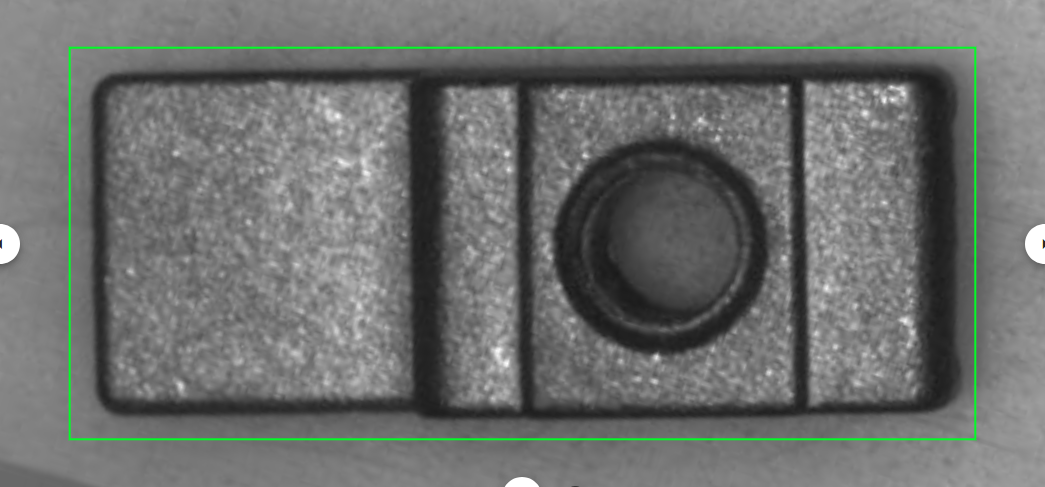
Fig. 94 Good candidate
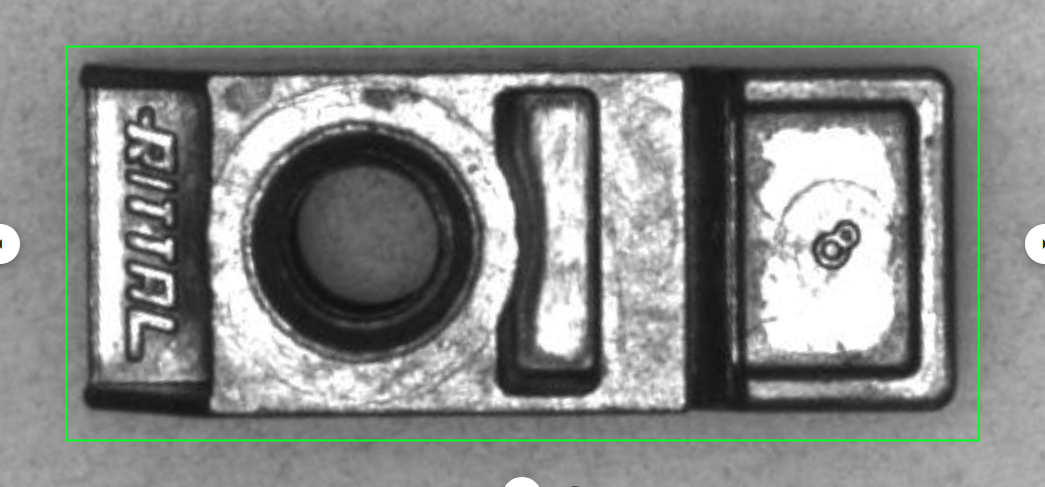
Fig. 95 Bad candidates
Once you have defined the right orientation of your part for robot pick-up, you can feed the right side of the window with all candidates that match the profile and feed the left side with the candidates that do not match.
You must place at least 15 candidates on each side.
Note
It is good practice to fill the right and left side with as much variation as possible in each good and bad category in order to increase the AI algorithm robustness.
Note
If you don’t have enough images to finish filling both sides, you can go back to the previous step and take more images.
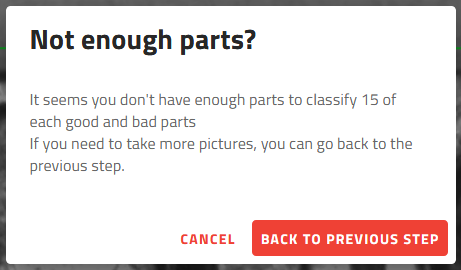
Fig. 96 Not enough parts?
Tip
You can clear the complete classification without losing the acquired images by clicking on . The classification for each part will be reset.
Classification Modes
You have two modes available to classify the good and bad parts: the Focus Mode and the Overview Mode. You can switch between them using the switch available on the top of the page.

Fig. 97 Classification Mode Switch
Focus Mode
The focus mode is the mode enabled by default when accessing the classification page. It allows you to see only one part at the time so you can observe its details.
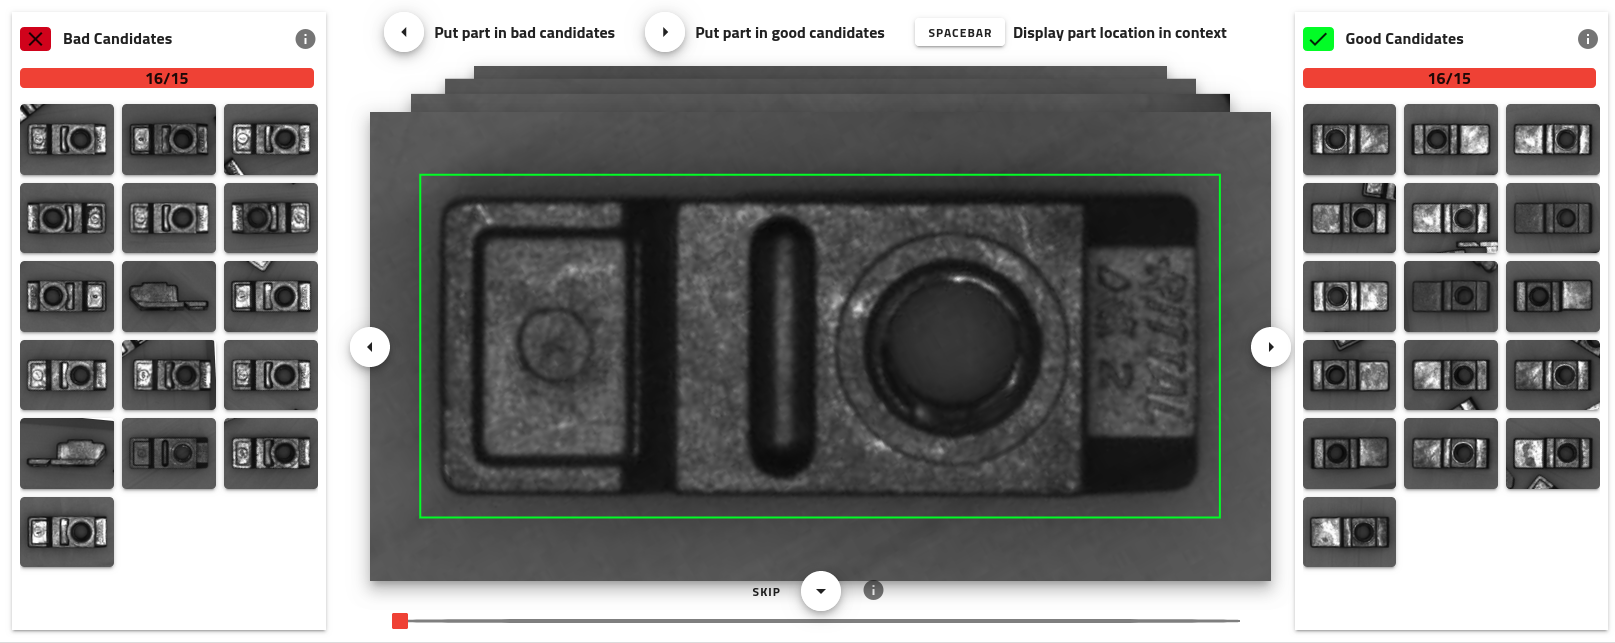
Fig. 98 Classification - Focus mode
Once you know if the part is good or bad, you can classify it using the arrows on the computer keyboard  or click on the buttons
 ![]()
![]()
![]() .
.
Tip
You can avoid classifying an image by skipping it with the ![]() button. For example, if either category
already has enough candidates and you only want add more to the other.
button. For example, if either category
already has enough candidates and you only want add more to the other.
A progress bar below the image will indicate how many images were skipped.
Overview Mode
The overview mode is another way of classifying the parts by looking at the whole picture and selecting the good and bad parts using the mouse.
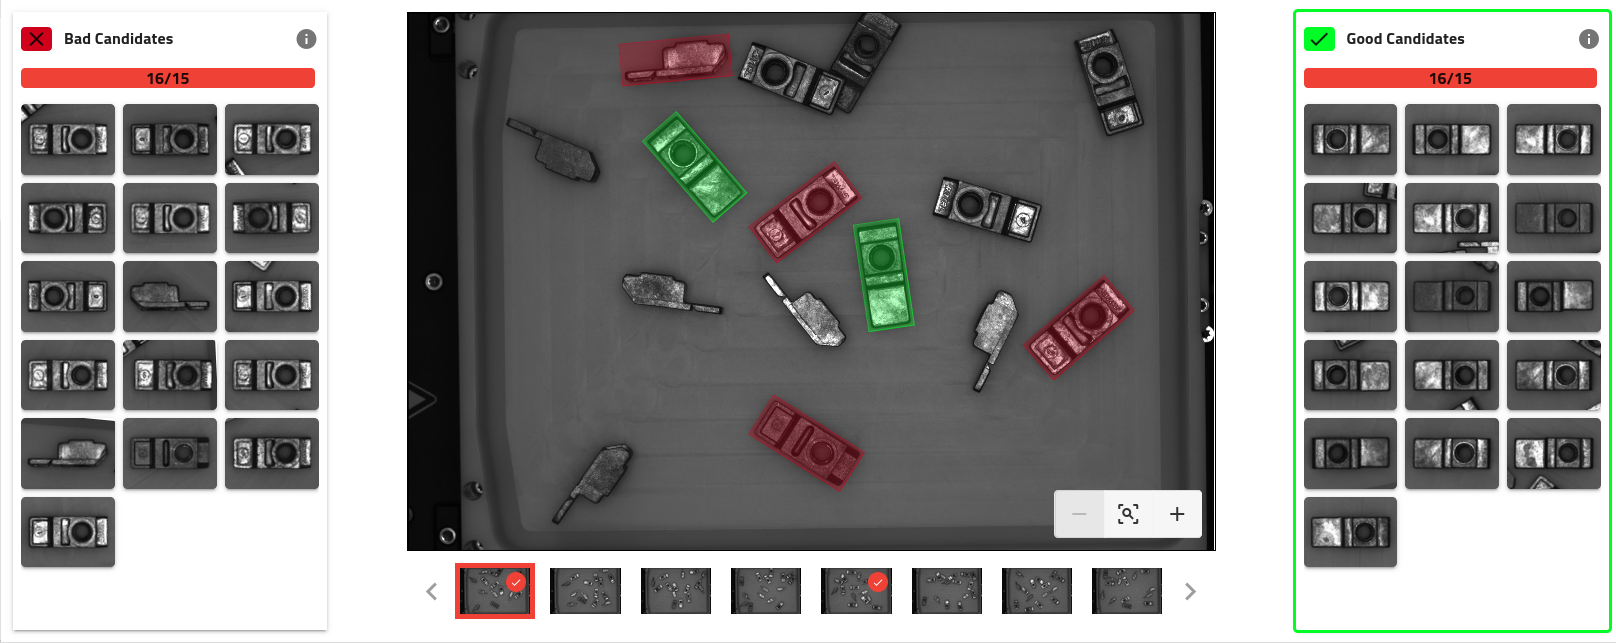
Fig. 99 Classification - Overview mode - Good Candidates selected
When this mode is enabled, one of the categories is selected (surrounded by a colored border). You can change which by clicking on the other. You can then click on the candidates in the image to classify them in the selected category.
Tip
You can also remove the classification of a candidate by clicking on it again on the image.
You can use the thumbnail images below to switch between images. When all the candidates in an image are classified, a checkbox will appear on the thumbnail.
Note
As for the focus mode, you do not need to classify all the parts. Once you have 15 good and 15 bad, you can Apply classification.
Important
It is not recommended to place the good parts manually on one side and the bad parts on the other to classify faster as this could result in missing orientations or lighting effects which could cause misclassifications during production.
Apply classification
Click on the to train the classification model according to the candidates provided.
By placing the candidates on the right or left side, you have given them a category (good or bad). When you apply the classification, these candidates with their category will feed a neural network that will enable EYE+ to distinguish the good and the bad candidates.