Avertissement
You are reading an old version of this documentation. If you want up-to-date information, please have a look at 5.4 .How to change the IP Address on your Windows PC?
To assign a new static IP address with Windows 10, you will need to open the « Network Connections » window. To do so, click Start > Settings > Control Panel > Network and Internet > Network and Sharing Center > Change adapter settings.
In the list of network, select the one you want to use for the connection. Do a right click and select « Properties ».
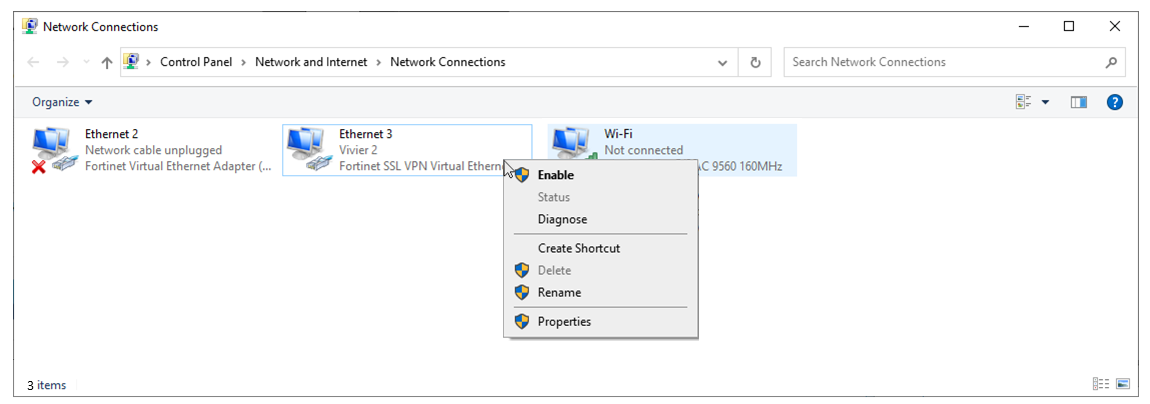
Fig. 173 Network Connections
Double click on « Internet Protocol Version 4 (TCP/IPv4). If you want to assign a static IP address to this network, you must select « Use the following IP address ». Then enter the right IP address and mask in each field. Click on « OK ».
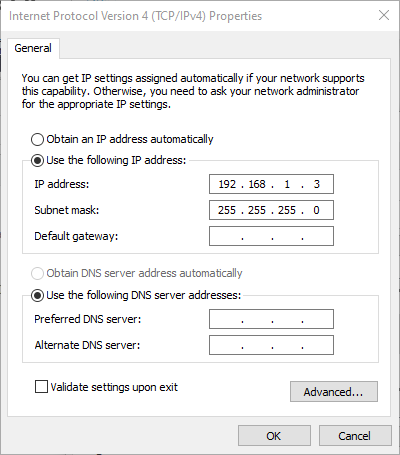
Fig. 174 Internet Protocol Version 4 (TCP/IPv4) Properties
Important
The computer’s IP address must belong to the same subnet as the connected device IP address. For example, if your device has an IP address of 192.168.1.50 with a mask of 255.255.255.0, the computer’s IP address must be between 192.168.1.1 and 192.168.1.49 or between 192.168.1.51 and 192.168.1.254 with the same mask.