Warning
You are reading an old version of this documentation. If you want up-to-date information, please have a look at 5.4 .Most of the following steps save for Candidate selection and Vision Results work in the exact same way as for a single part recipe so we won’t detail them here, please check out the links below for a detailed explanation of each step. Only these two will be detailed here.
2. Candidate Detection
3. Candidate Selection
This step is described here in the case of a single part/model recipe. There are however a few specificities to the multi-model mode that are described below.
Important
In multi-model mode, this step is mandatory so you must make sure all models are well represented when acquiring the image database; the lower limit of 50 candidates may not be enough if you have more than 2 models.
From the candidate classification page, you may classify all available candidates into your models. Contrary to the single model version, you won’t have to classify each candidate between the OK and KO classes, rather assign a model to them, or put them in the BAD category if they must be rejected by the system. By default, 2 models are created in addition to the BAD category. The latter is meant for discarding orientations or potential unwanted parts from the results. No extra vision steps will need configuring for that class.
Overview classification
For efficiency’s sake, an overview classification mode is available (and default).
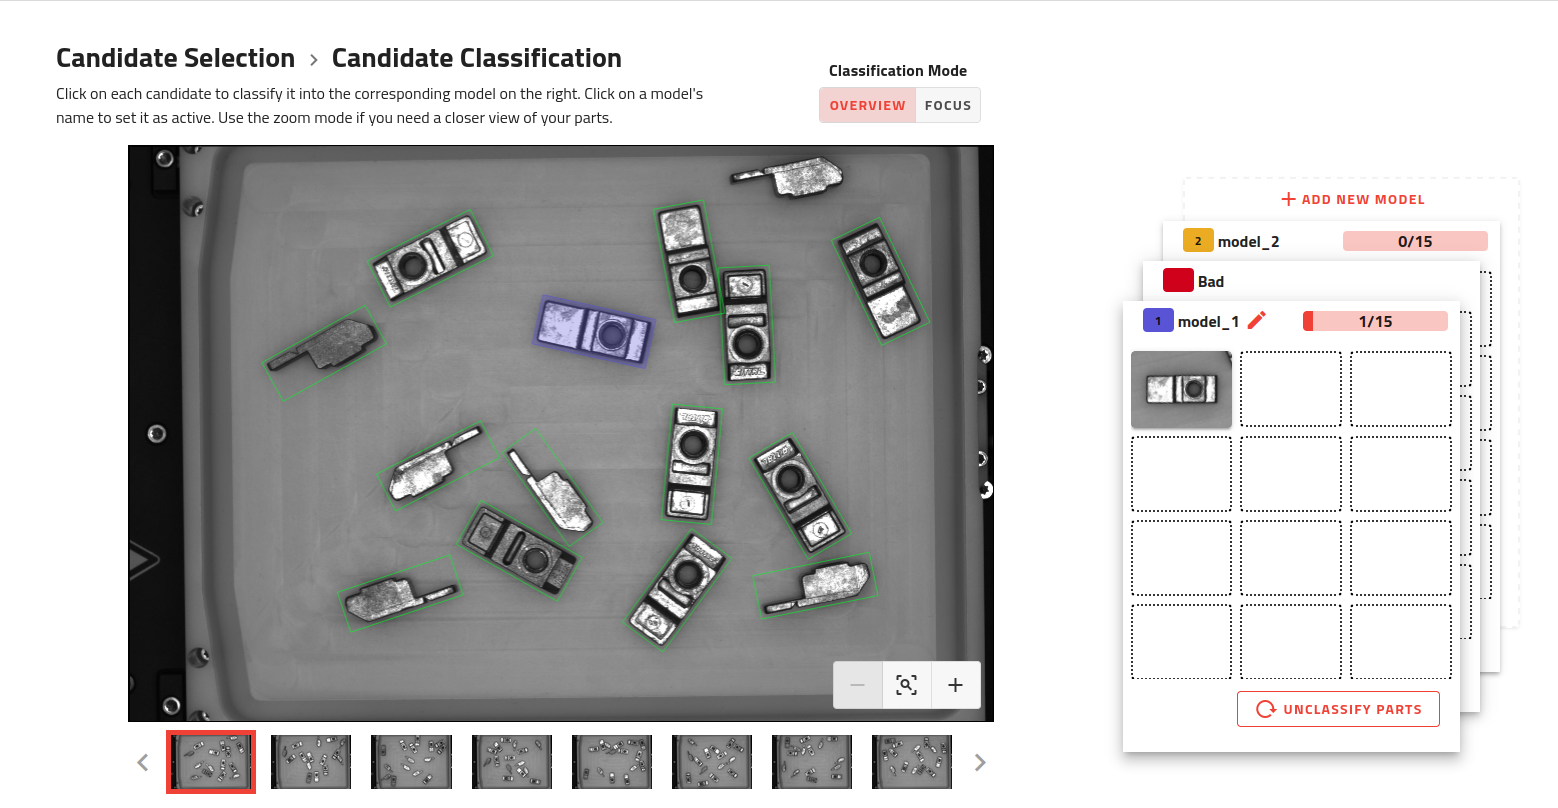
Fig. 245 Overview Classification Mode
In this mode, clicking on a candidate will automatically put it in the class that’s currently on top of the stack to the right and color it with the corresponding color. Clicking again will remove it from its currently assigned model. We recommend you classify model by model (e.g. all candidates of model_1 first, then model_2…etc) by selecting all relevant candidates from one image, then from the next using the carousel located under the current image. Once all candidates from an image have been assigned a model, a tick mark will be displayed on said image in the carousel as shown below.

Fig. 246 All Candidates Classified On An Image
You may also switch to the regular focus classification using the corresponding mode switcher above the image.
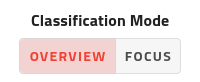
Fig. 247 Classification Mode Switcher
Note
You must provide 15 candidates per model to be able to continue, save for the BAD category that doesn’t have this limit. The more BAD candidates you can provide (if any required), the more accurate the prediction will be.
Important
When finishing up your classification, make sure every model is visible on the plate before continuing, otherwise you won’t be able to complete your recipe successfully and the following message will be displayed
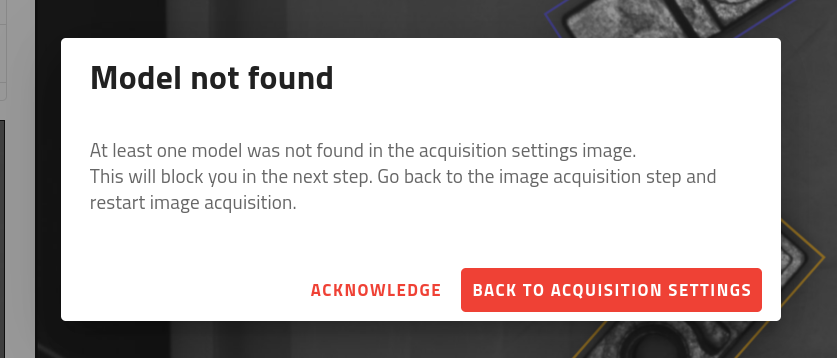
Fig. 248 Model Not Found Warning Message
Managing models
- From this page, you have several options to manage your models, namely:
add a new model
cycle through models
rename a model
unclassify all candidates in a model
delete a model
All these actions can be performed using the model stack to the right of the page.
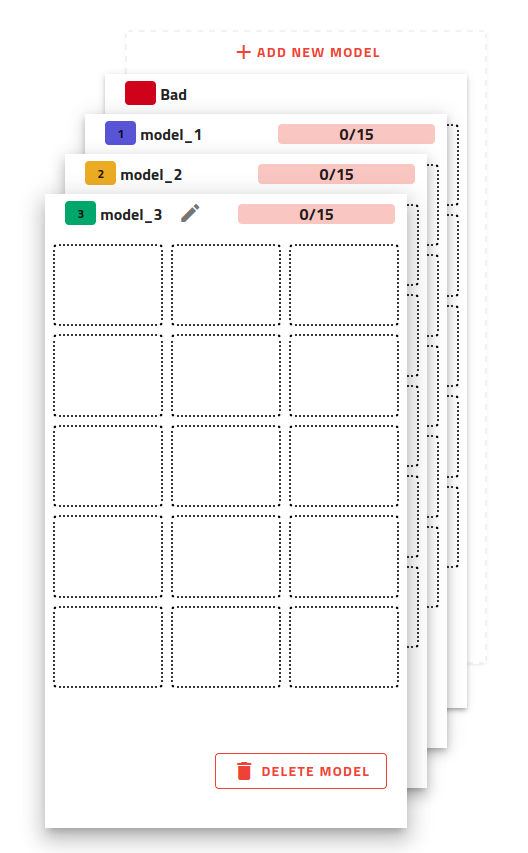
Fig. 249 Model Stack
To add a model, simply click on the Add new model button above the model stack. When adding a model, you will automatically be able to change its name; once chosen, apply it either with the tick button or by pressing the enter key on your keyboard.
To cycle though models, use the UP and DOWN arrows on your keyboard. Alternatively, you may click on the card of the model you want to go to it directly.
To rename a model, select it first and click on the current name of the model. You can then type in the new name to be used for it.
If you feel one of your models needs a do-over or is not needed after all, you can delete it and all parts it currently contains with the delete button at the bottom of each model card. The candidates will then be able to be classified in another model. In case you only have 2 models remaining (plus the BAD category), you will not be able to delete any of them, but only unclassify its candidates instead.
4. Pick Point Teaching
5. Pick Angle Teaching
6. Picking Conditions
7. Vision Results
This page allows you to test all your models at once without any vibration involved. All results are displayed on the same image, with the color of their bounding boxes coinciding with their predicted model. You may choose to filter some models out with the field provided for this purpose.
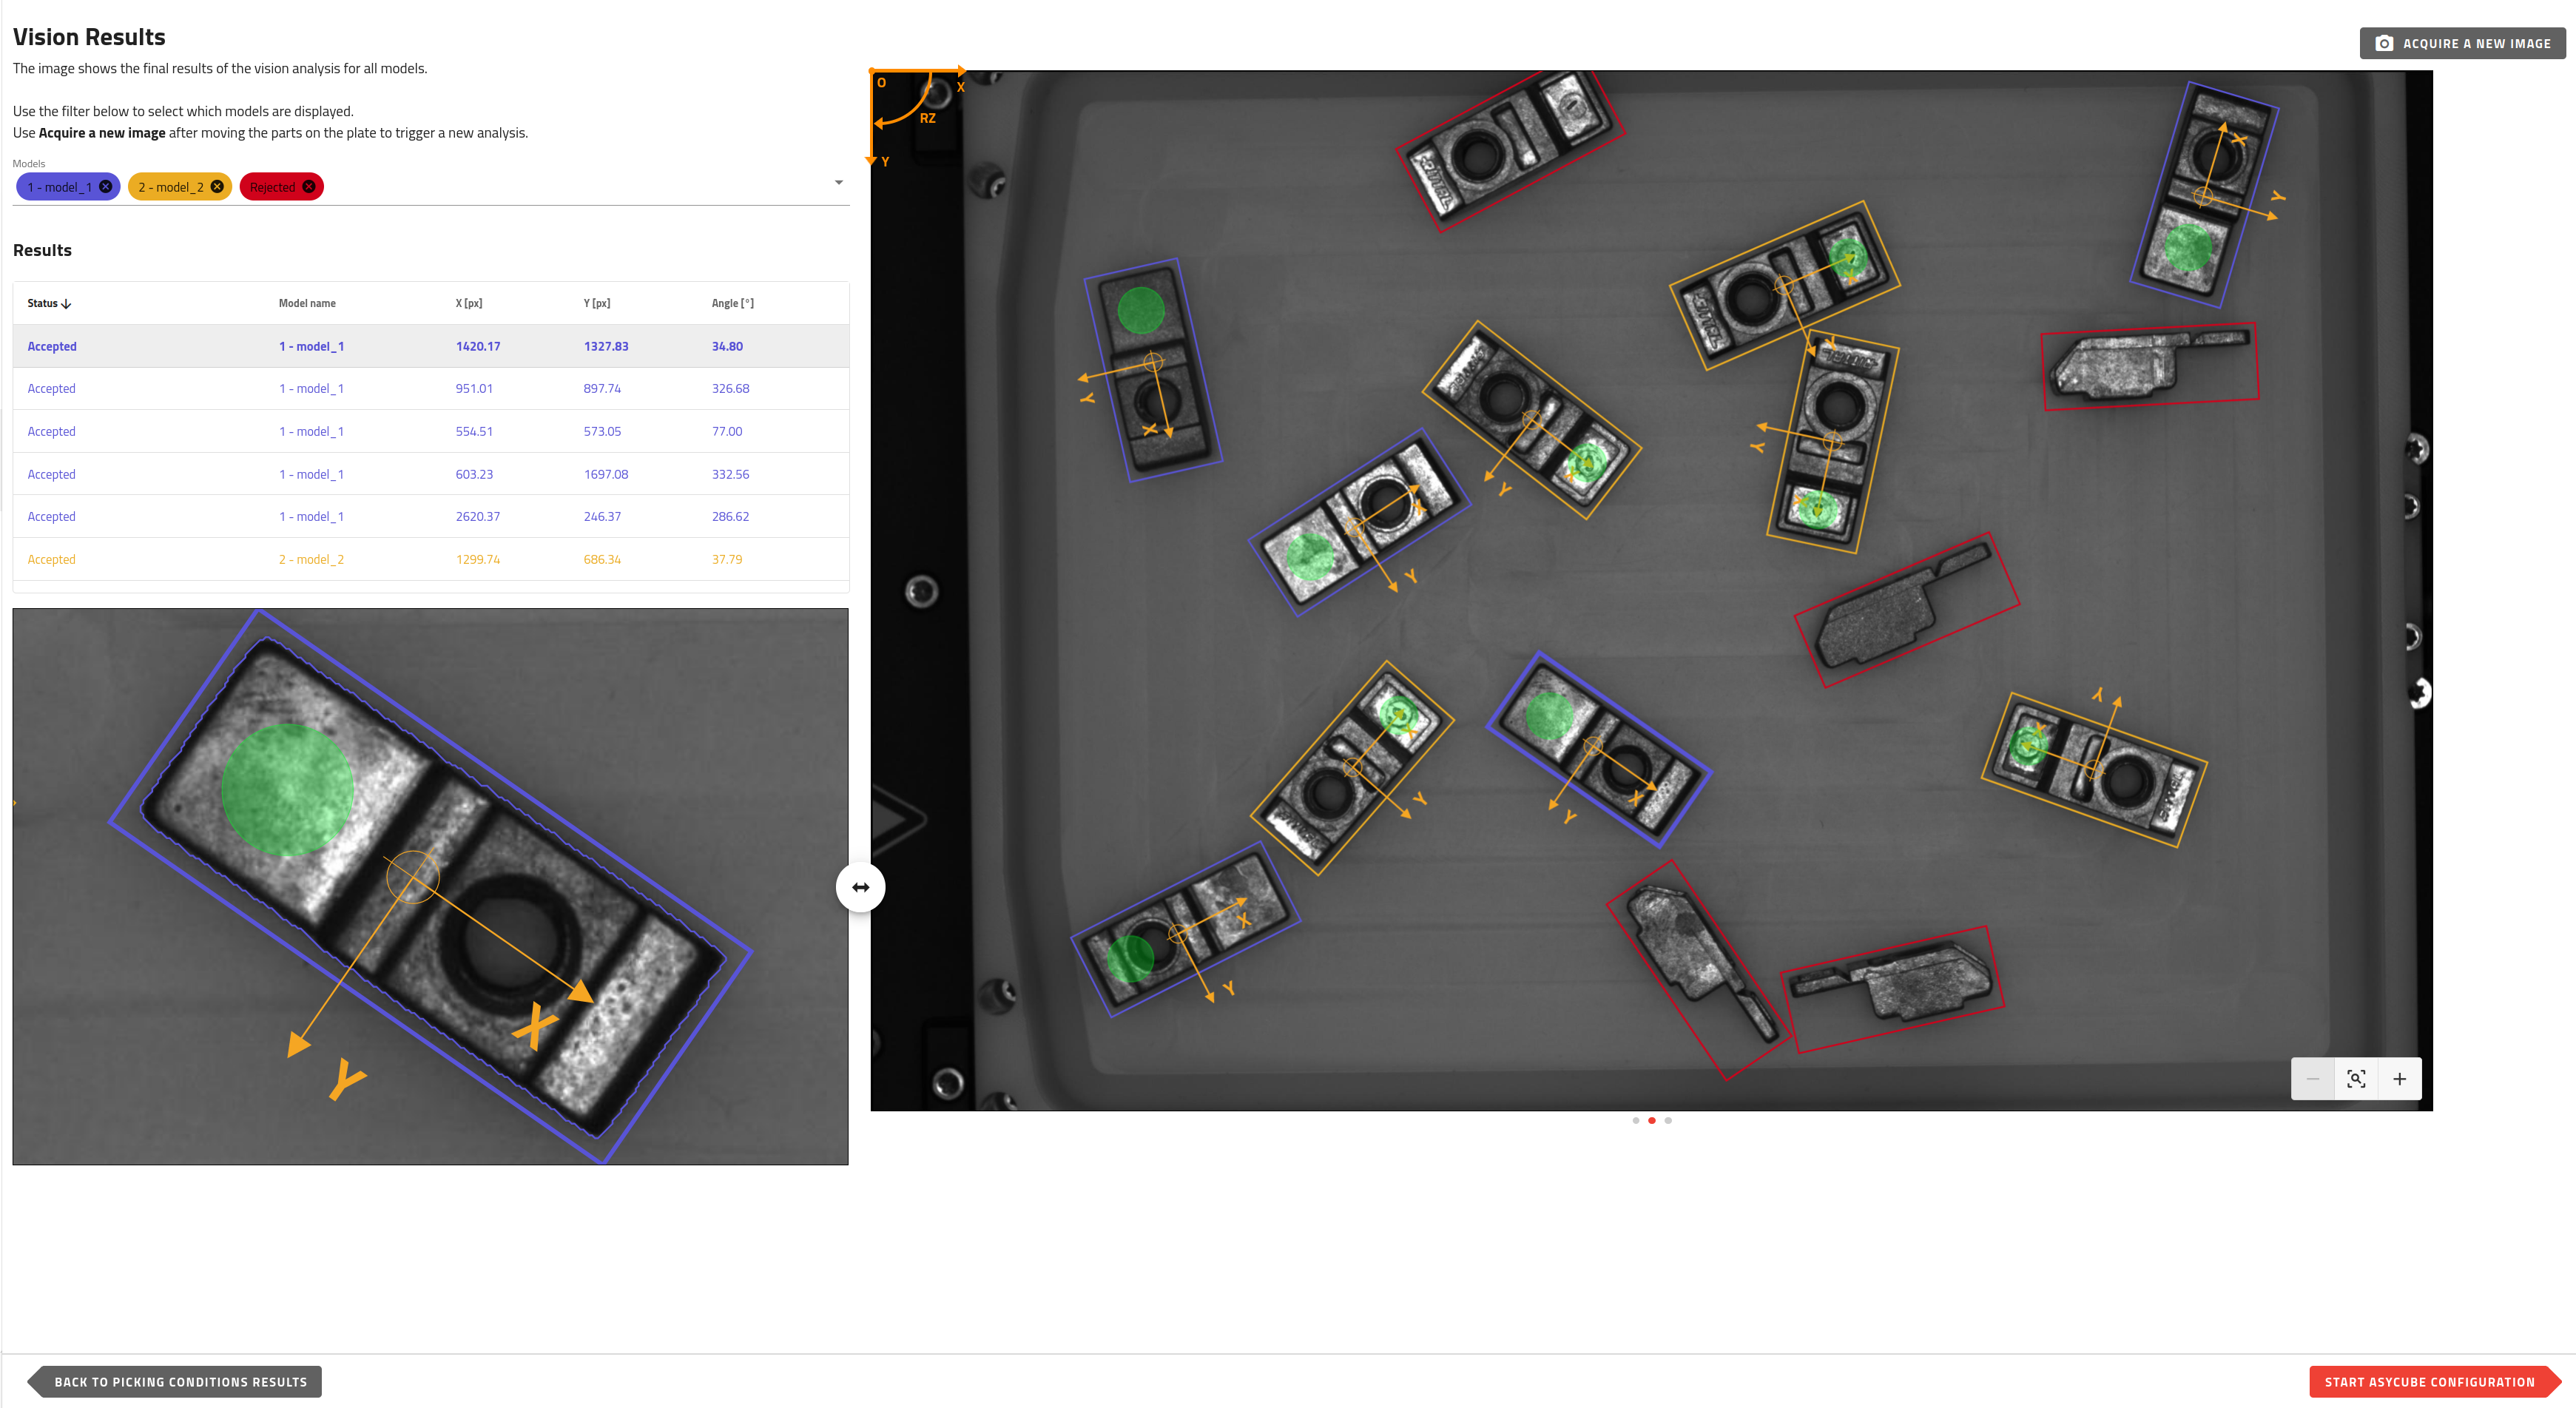
Fig. 250 Vision Results