警告
あなたはこのドキュメントの古いバージョンを読んでいます。 最新の情報を知りたい場合は、以下を参照してください 5.3 .Plugin configuration
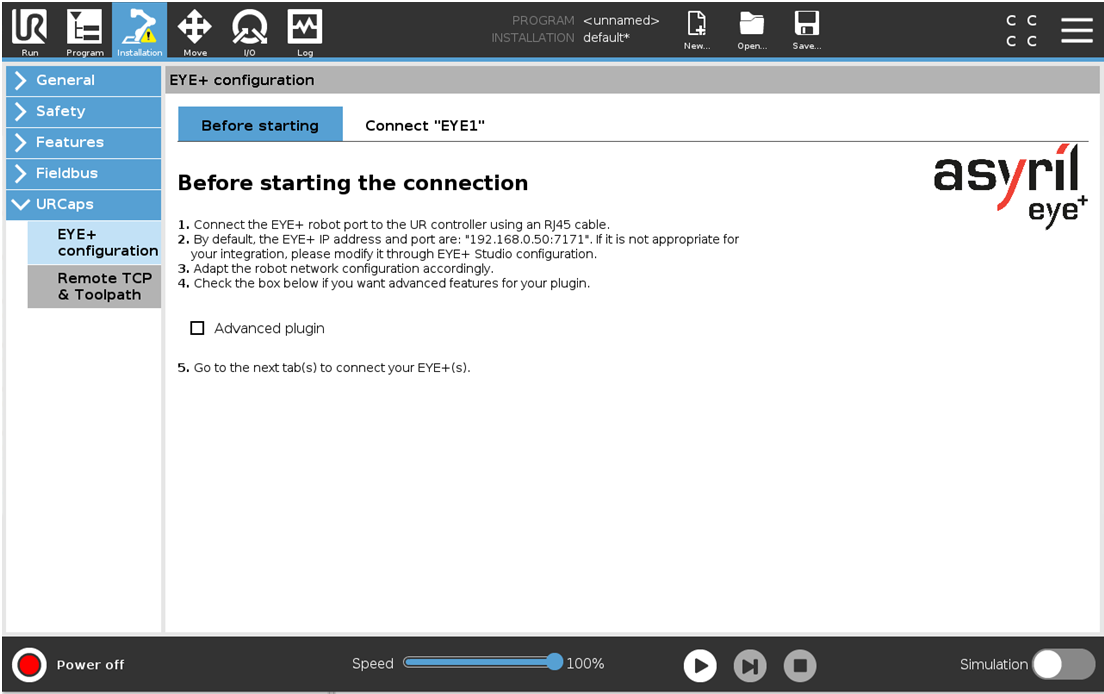
The EYE+ URCap is composed of one installation node. It is used to connect the EYE+ to the robot. To access it, go to the Installation tab of the TeachPendant and select the EYE+ Configuration URCap. The following screen should appear 図 175.
Before starting the connection
Information
The first tab of the URCap installation gives information on how to start the connection with your EYE+.
Once all the steps listed are valid, go to the next tab to connect your EYE+.
Choose the plugin mode
It is possible to choose the plugin mode to use.
Basic plugin: By default, the basic plugin is selected. The basic plugin provides only the 4 basic EYE+ commands in the URCap program: start production, stop, get_part, prepare_part. It is also not possible to request more than one part with the get_part command.
Advanced plugin: The advanced plugin provides 5 additional EYE+ commands: force_take_image, can_take_image, get_parameter, set_parameter, feeder. It is possible to request more than one part with the get_part command (up to 5 parts).
注
For further information on the behavior of the commands, please refer to the chapter コマンド.

図 175 Before starting the connection
Connect "EYE1"
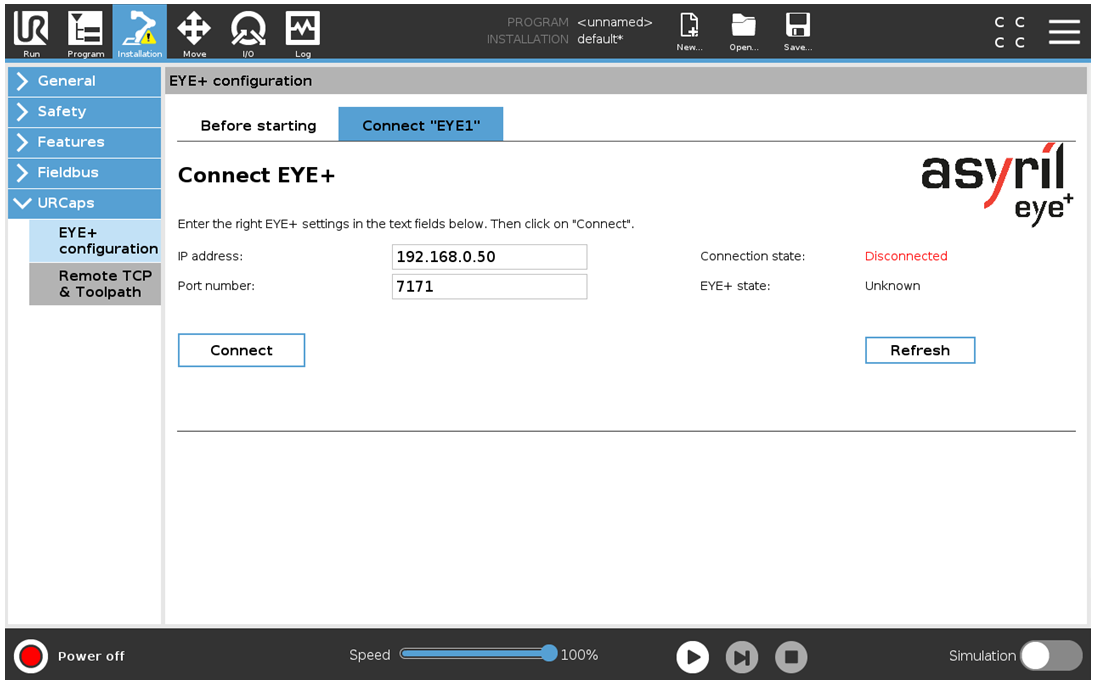
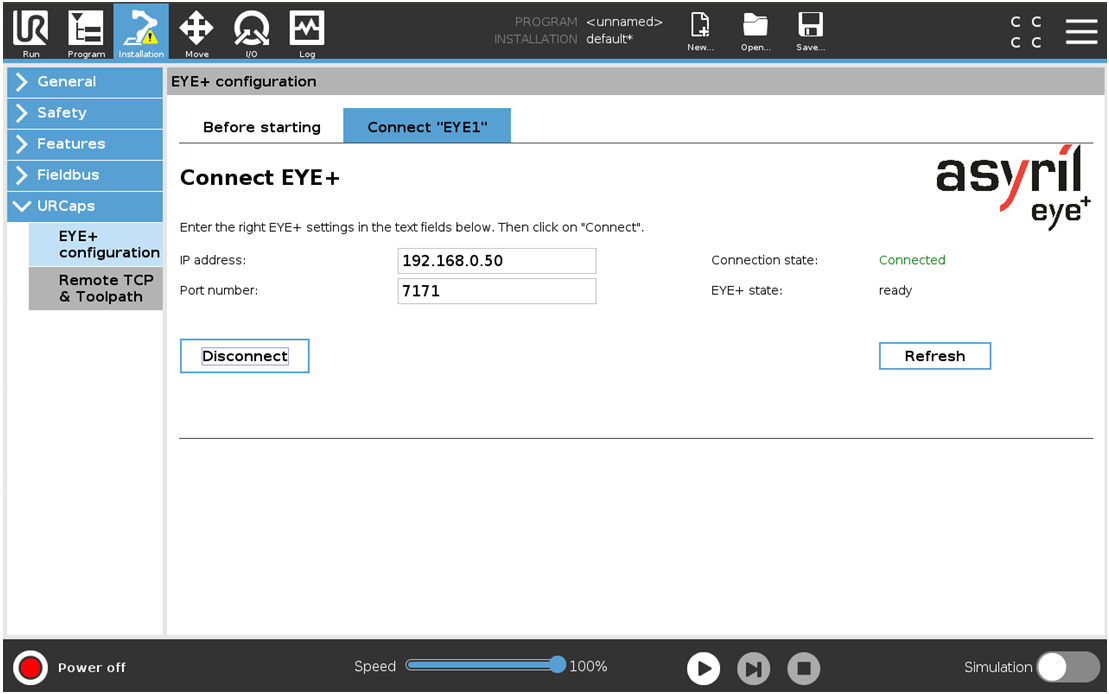
To connect your EYE+, enter the correct IP address and port number in the dedicated fields and then click Connect. When the EYE+ is connected (図 178), the connection status changes to "Connected" in green and the current status of the EYE+ is displayed.
注
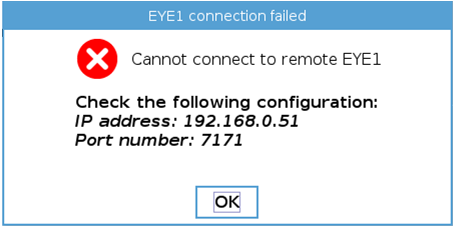
If the connection failed, the following error message pops up. Check if you have correctly connected the Ethernet cable between your robot and the EYE+ and check if the robot is configured on the same subnet as the robot port of the EYE+.

図 176 Connection failed - popup error
The Refresh button is used to refresh the connection and EYE+ state on the view.

図 177 Connect "EYE1" (default connection tab) - Disconnected EYE+

図 178 Connect "EYE1" (default connection tab) - Connected EYE+