Warning
You are reading an old version of this documentation. If you want up-to-date information, please have a look at 5.3 .1.2 Image Acquisition
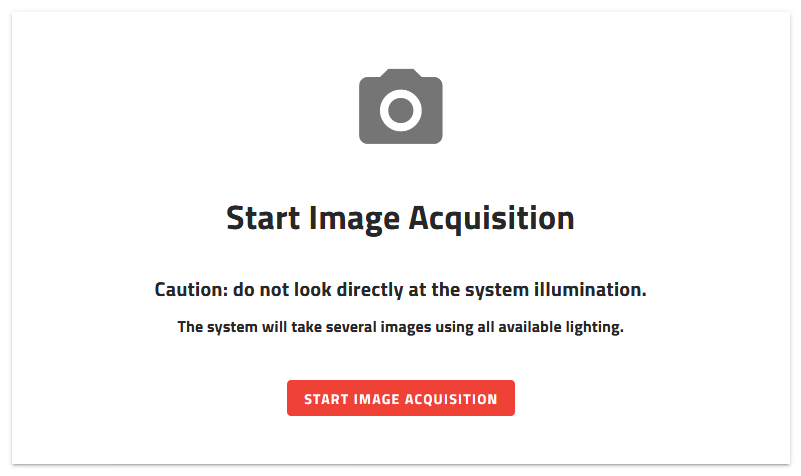
Once you have placed the parts on the production plate, you can start the image acquisition by clicking on .

Fig. 65 Starting up - Image Acquisition
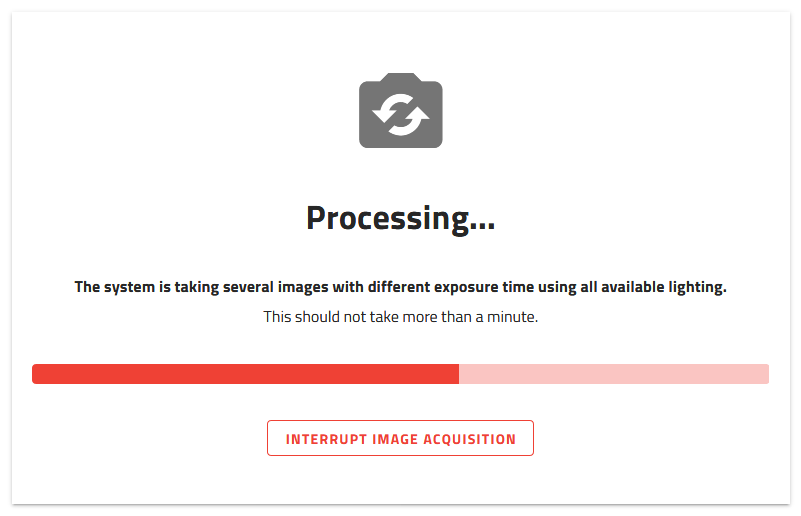
EYE+ will start the image acquisition based on the defined acquisition lighting settings. For each type of lighting (backlight/frontlight), EYE+ will take one image for each exposure time specified in the configuration:
Image 1 with exposure time = Minimum [ms]
Image 2 with exposure time = Minimum [ms] + Step [ms]
Image 3 with exposure time = Minimum [ms] + 2x Step [ms]
…
Image n with exposure time = Maximum [ms]

Fig. 66 Wait for the end of acquisition

Once the image acquisition is finished, you can proceed to the next step to see the images taken.