Warning
You are reading an old version of this documentation. If you want up-to-date information, please have a look at 5.4 .8.3 Results
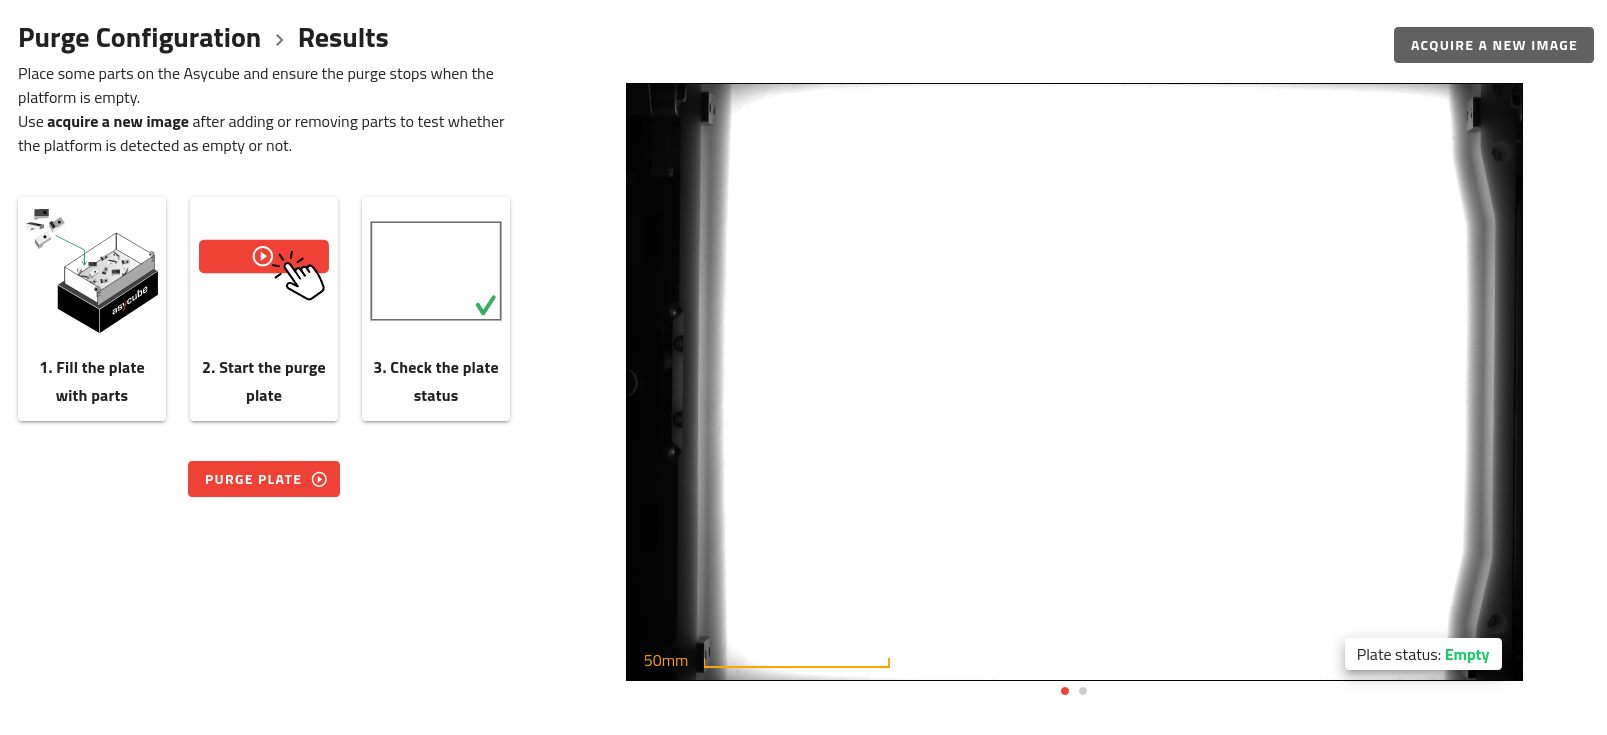
Fig. 150 Purge Configuration - Test advanced purge
To test your advanced purge settings, click on the button. This will open the purge flap (if applicable), activate the purge vibration and take multiple pictures. Once all the parts are purged, the flap will close.
Note
If a timeout occurs, the flap will also close and you will be notified. If the parts were not purged, try to change the purge vibration. If the parts were purged but you still had the timeout, it is likely the reference image EYE+ uses is not optimal. Consider capturing one with different settings.
You can also test the quality of the reference image by placing some parts on the platform and clicking on the . This will take a picture and display the taken image as well as what EYE+ sees (difference image, second picture). You will also get the result on the analysis on the bottom right (empty or not empty).
Tip
The TCP/IP command purge <command> <duration> with a duration set to 0 or omitted will allow you to launch an advanced purge.